If you’re looking for a delicious and easy mulberry jam recipe then look no further than this simple recipe.
It’s the perfect way to use those homegrown mulberries. Serve it on homemade toast bread, use it in simple jam drops, on top of easy pumpkin scones or even drizzled over homemade Greek Yoghurt.
I used this recipe today and made a batch of mulberry jam with the berries off my much loved Mulberry Tree. Up until this point I was a jam novice, but your recipe was spot on and my 8 year old son declared that this jam is the best thing he has ever tasted!! I can't wait to try your recipe for Chilli Jam next.
- Cathy
Thank you for sharing!!
Quick look at our Easy Mulberry Jam Recipe
- ⏲️ Ready in: 30 minutes.
- 🛒 Ingredients: Just 3 (including water)!
- 🍽️ Makes: Adjustable depending how many mulberries you have.
- 🧑🍳 Difficulty: Easy (child-friendly with supervision).
- 🗃️ Make ahead: Keeps for up to 2 years.
- 💵 Cost: About $1 a 300ml jar.
Why choose this Easy Mulberry Jam Recipe
- Simple - this recipe is so incredibly simple to make.
- Inexpensive - mulberries often grow wild so if you can find a tree somewhere, all you need to buy is the sugar making is less than $1 for a 300ml jar.
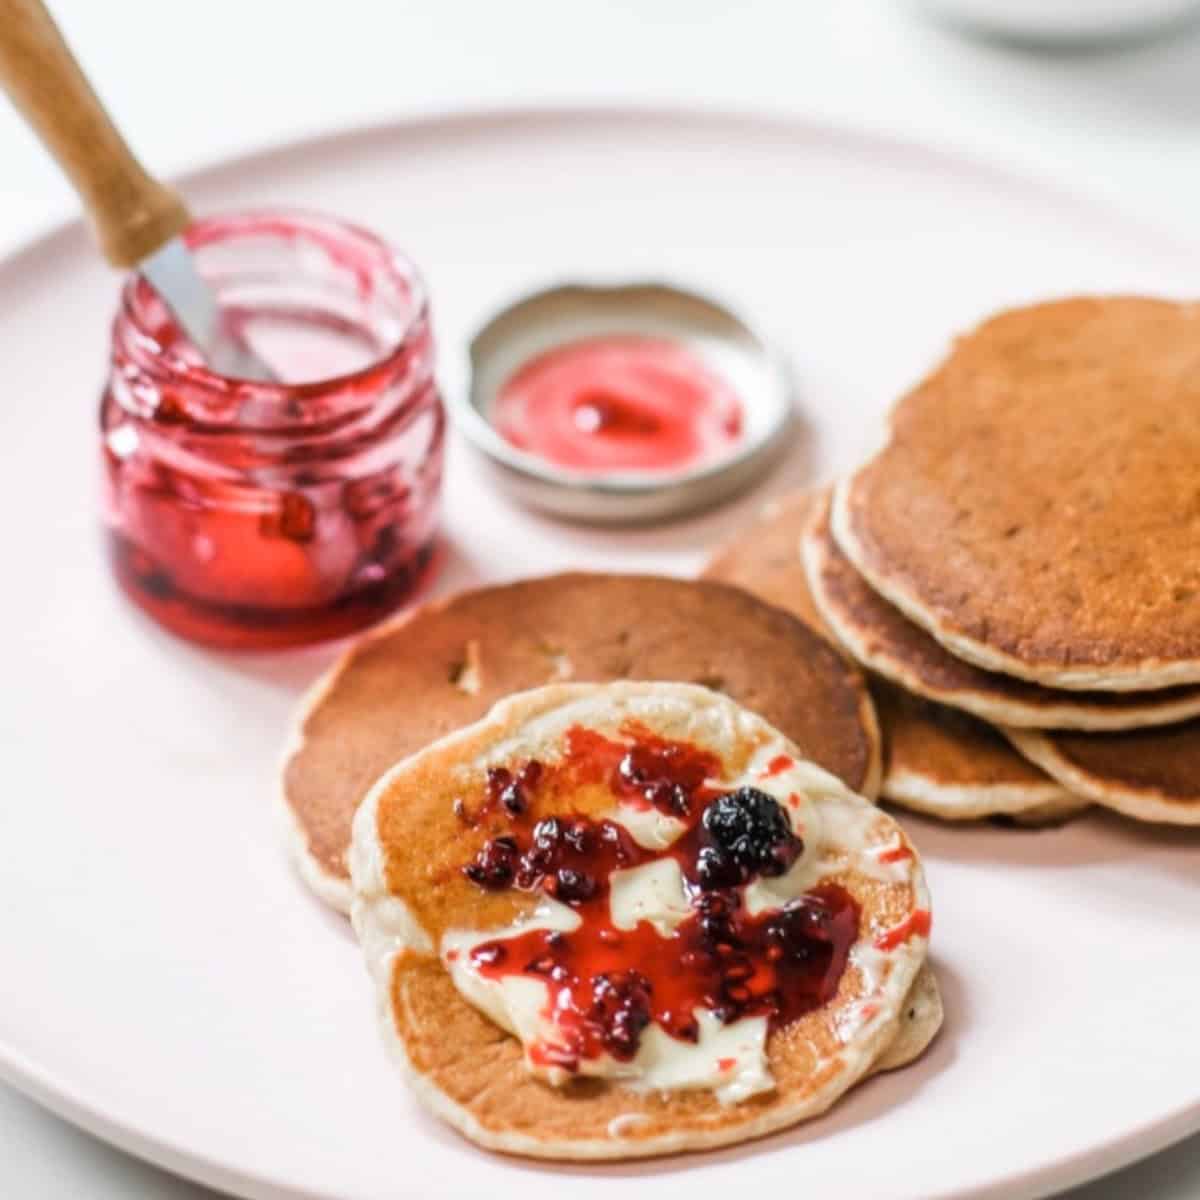
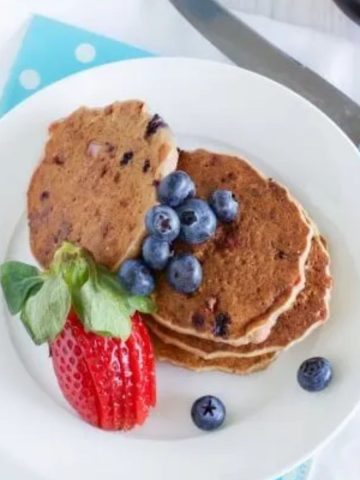
- Delicious - Sweet and tart & perfect on gluten free cinnamon pancakes.
- No pectin - pectin isn't exactly something we have in our pantries generally!
When I was growing up we had a giant beautiful mulberry tree in our driveway.
My sister used to eat them by the bowlful and I can still remember her purple-stained hands (see a tip for getting the stains out at the bottom of this post).
When I spotted a bunch of trees growing in a park I was keen to get creating & mulberry jam was born.
Recipe Ingredients
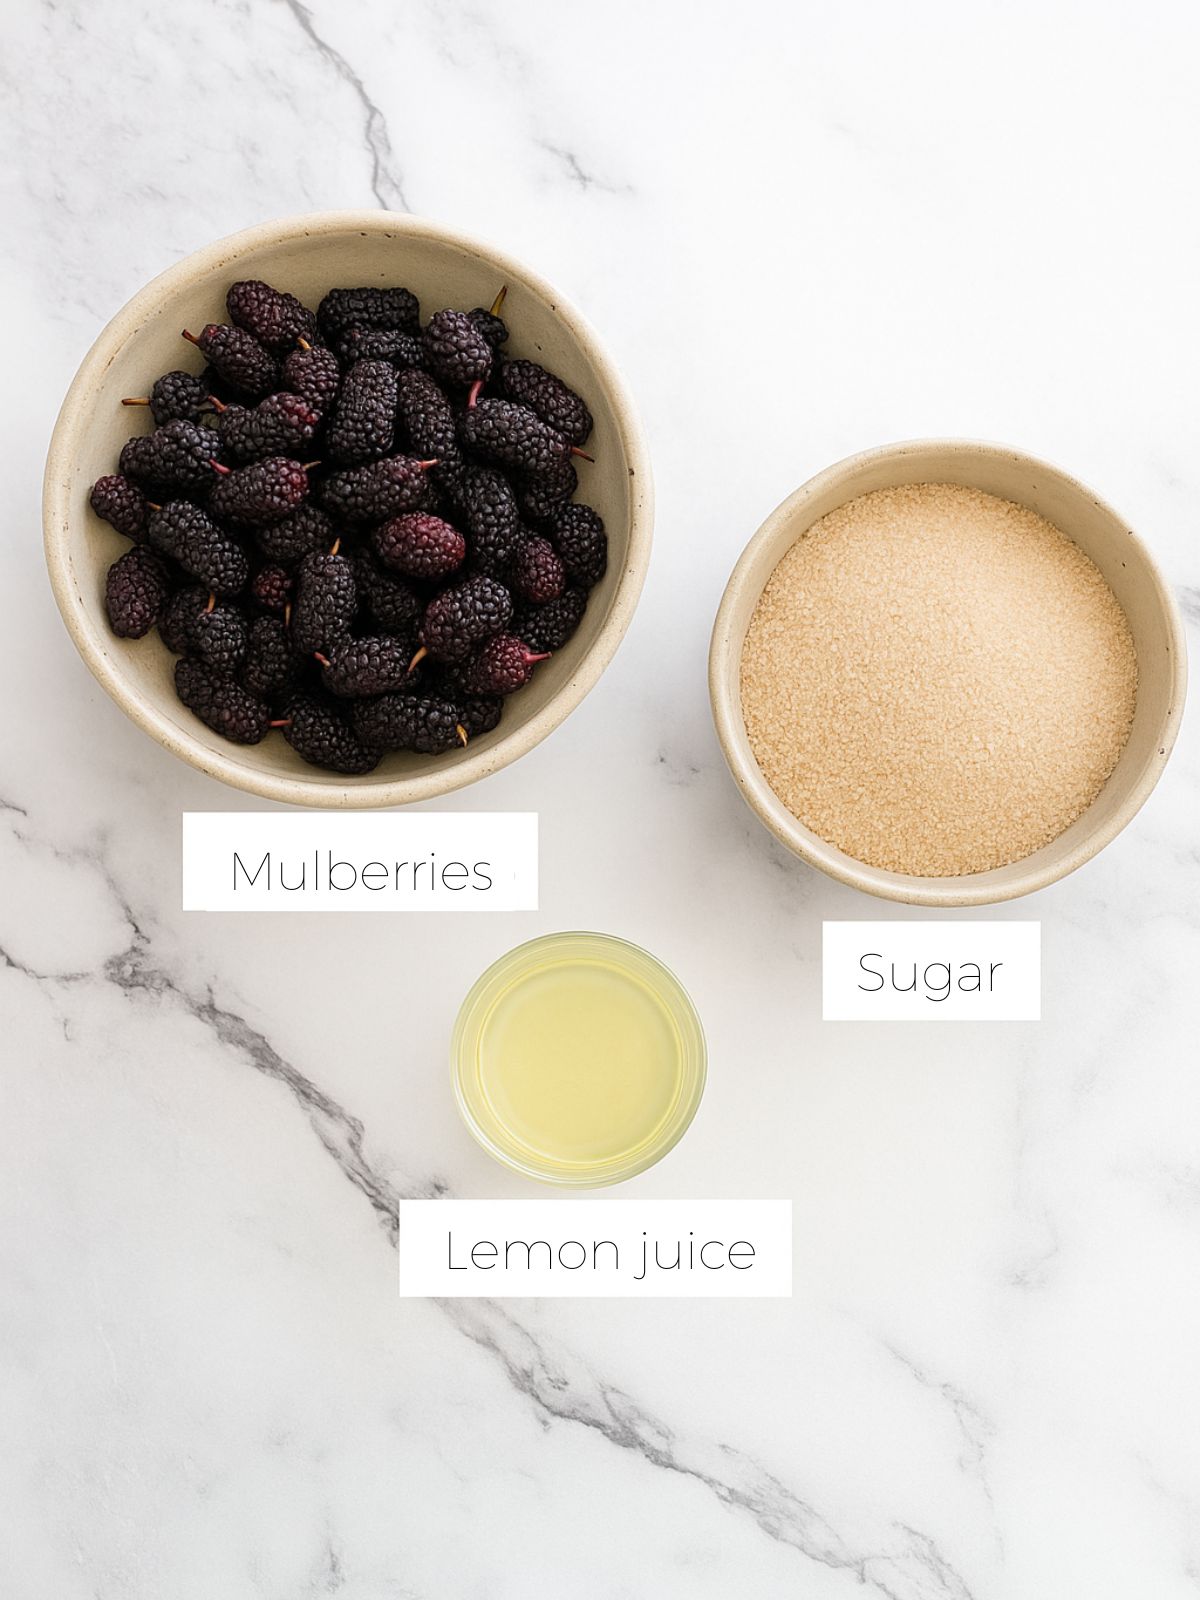
To make this delicious jam, you will need:
- Mulberries - Fresh-picked, firm & ripe (rich dark colour). This recipe is for black mulberries and hasn't been tried with white mulberries.
- Sugar - White sugar, caster sugar or raw sugar will work. Alternative, less-processed sugar like rapadura works but will alter the flavour slightly & the colour won't be as bright.
- Lemon juice - Freshly squeezed not from a bottle. We like to save the lemon zest in the freezer for baking. Here's a quick tip for juicing lemons.
Tip For Removing Mulberry Stems
Use nail clippers to quickly and easily remove the stems from mulberries.
How to make Easy Mulberry Jam
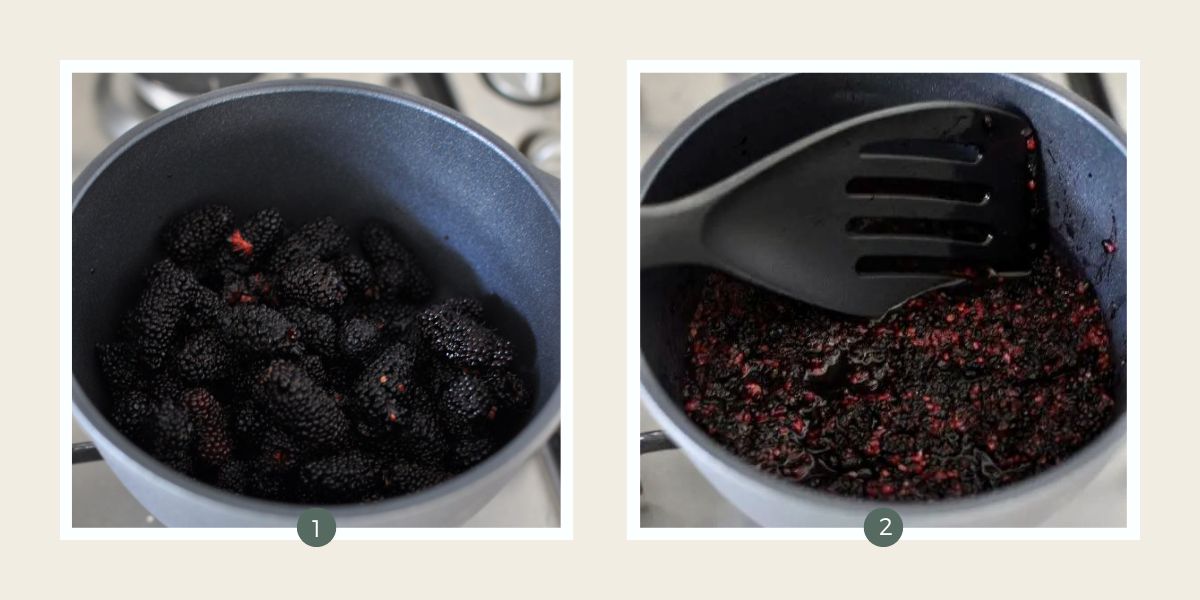
Step 1 - Ditch the stems. Make sure you’ve gotten rid of all stems then pop the mulberries in a big saucepan or large pot.
Step 2 - Heat & Squish. Heat the berries over medium heat & squish gently to release the juice. Once they’re all smooshed up (yes that’s the technical term), bring the pot to a gentle rolling boil.
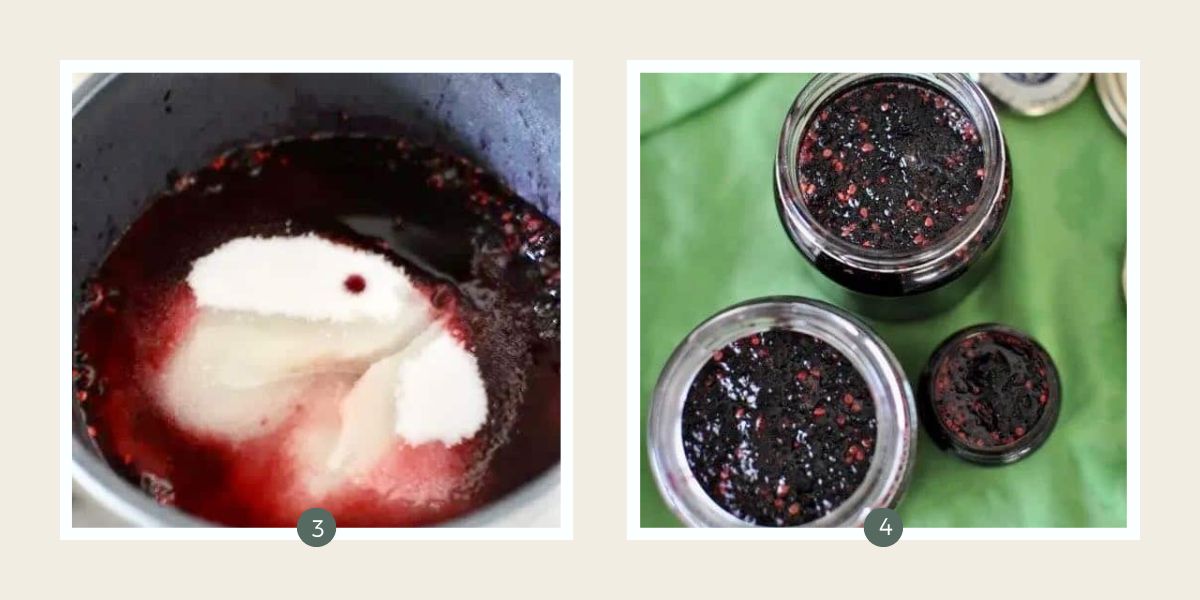
Step 3 - Sugar & lemon juice. Add the sugar and lemon juice. Keep stirring until the sugar has dissolved then bring it to a boil again.
Step 4 - Bottle the jam. The jam is quite runny at this stage, more like a sauce. It’s meant to be like that. If you want it thicker, reduce the pot to a simmer & leave it to thicken (about 20 mins). Divide it between your sterilised jars (make sure it’s still hot).
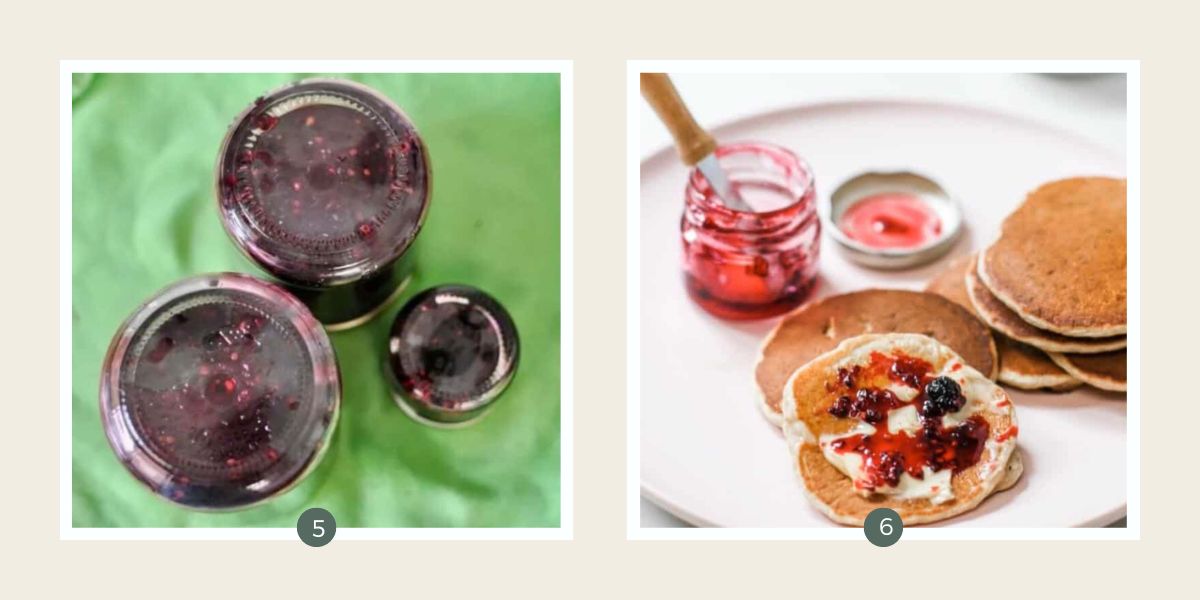
Step 5 - Lid & flip. Put the lid on then tip the jars upside down to cool. This will make sure they are air-tight and can be kept unrefrigerated until opened for up to a year (as long as your jars are properly sterilised).
Step 6 - Serve!
How To Sterilise Jars For Making Mulberry Jam
If you want your jam to have a decent shelf life & not need to be stored in the fridge straight away then you need to make sure your jars are properly sterilised.
This is the easiest method for sterilising glass jars that I have found and I'm yet to have a batch of jam go mouldy on me.
NOTE: If you’re using recycled jars, I have a little tutorial for quickly and easily removing the labels from glass jars without ruining your fingernails (you’ll also get a bonus tutorial for making pretty labels in less than 5 minutes without having to buy anything).
Other Mulberry Uses
DEHYDRATE THEM – lay your washed and dried mulberries on the trays of a dehydrator and leave until well dried.
NATURAL FOOD DYE – boil ½ a cup of mulberries in ½ a cup of water and then strain it to make your own natural food colouring. I like to use dye like this in homemade playdough.
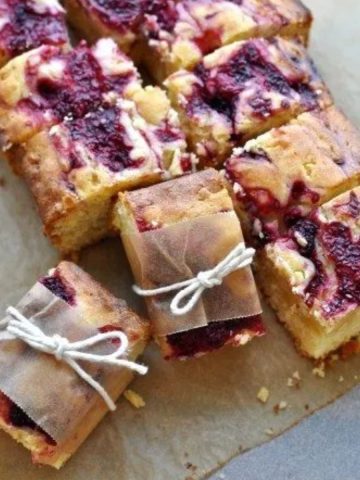
Other recipes with mulberries
- Use the jam to make jam drops
- This mulberry pie recipe looks delicious
- Mulberry crumble bars
Recipe FAQs
They’re not readily available in shops but often grow wild in parks.
If locals do have trees, they’ll likely have an abundance of fruit.
Ask around on local Facebook groups if you don’t know where to find any mulberry trees to pick from.
Make sure you give them a good wash first though.
I recommend filling a sink with water, adding a few tablespoons of apple cider vinegar and soaking them for about 15 minutes (swish it around a few times with your hands).
Then scoop all the berries into a sieve and give them a good rinse before you use them.
If you’re not going to use them right away, lay them out flat on a tea towel and let them dry completely then store in the fridge in a tea towel lined bowl or container.
You can definitely make this recipe in the Thermomix.
Where it says to bring to the boil, you will bring it up to 100C.
To simmer, lower the temperature to 70C.
I read a great tip for getting the mulberry stains off your hands. When you’re picking the mulberries, grab a few unripe fruit and rub them on your mulberry-stained fingers. The stains should come right off.
In flavour I’d say they’re between a blackberry and a blueberry with the staining power of 100 raspberries in one little fruit.
They’re also quite a nutritional powerhouse.
What about you? Did you have any fruit trees near by when you were growing up?
NOTE: mulberries stain big time so wear old clothes and an apron just in case.
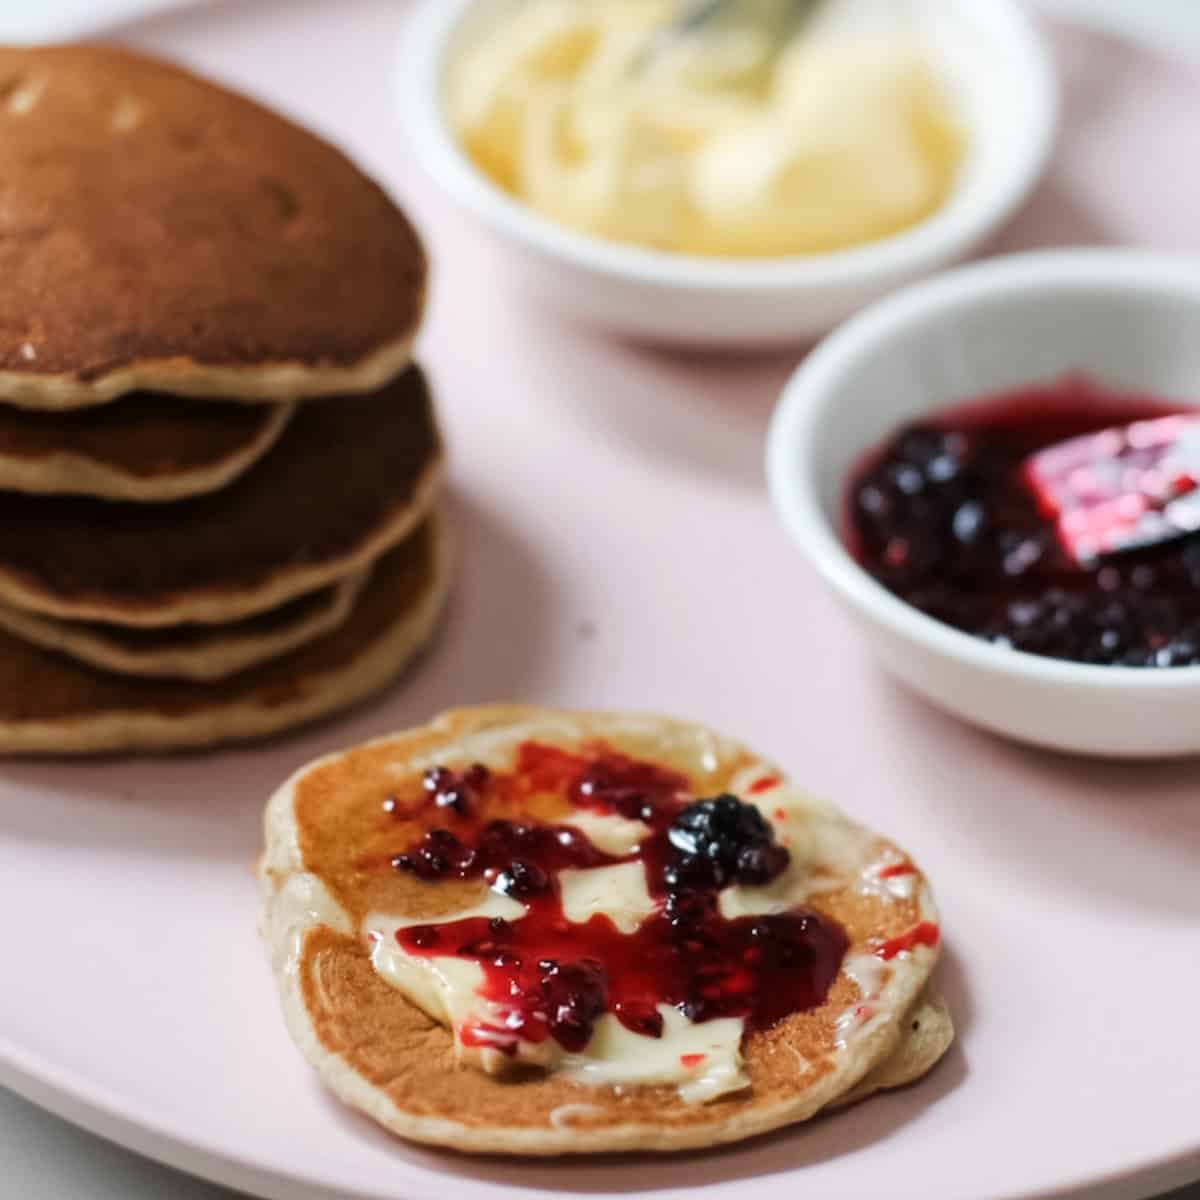
How To Use Easy Mulberry Jam
Really the possibilities are endless but some of our favourite ways to serve mulberry jam are:
- Toast bread
- Traditional pumpkin scones
- Lemonade scones
- Jam drops
- Homemade bread
- Use it to top ice cream


Recipe
Mulberry jam
Ingredients
- 500 g fresh-picked firm, ripe mulberries
- 500 g sugar
- juice of ½ lemon
Instructions
- Pull all the stems of the fruits and put them into a large saucepan.
- Heat it over medium heat and crush the berries to squish out the juice.
- Bring it to a boil then add the sugar and lemon juice.
- Reduce the heat and stir the mixture until the sugar dissolves.
- Bring it back up to the boil for five minutes. Turn the heat off and then, using a stainless steel funnel, pour the jam into sterilised jars and seal the lids. Turn the jars upside down to cool.
- Store it in a cool, dark place and it should keep up to 2 years.
Notes
-
- Glass jars - you can use recycled jars but it's best to buy new lids if you want to store the jam rather and consume short term. Here's how to sterilize glass jars (without an oven).
-
- Jar lifter - they're basically tongs with rubber coating so you don't burn your fingers. Optional.
If you’re not going to use them right away, lay them out flat on a tea towel and let them dry completely then store in the fridge in a tea towel lined bowl or container. Tip for removing stems: Use nail clippers to easily remove the stems.


Claire Cameron says
Such a simple and delicious recipe. Love the tip for cutting the stems off with nail clippers!
Cathy says
Hi Claire. I used this recipe today and made a batch of jam with the berries off my much loved Mulberry Tree. Up until this point I was a jam novice, but your recipe was spot on and my 8 year old son declared that this jam is the best thing he has ever tasted!!
I can't wait to try your recipe for Chilli Jam next.
Thank you for sharing!!
Claire says
Woohoo Cathy I love hearing jam success stories!
Andrea Morrison says
Hi what does the g stand for in the recipe like 500g berries and 500g sugar. Thank u andrea
Claire says
Hi Andrea. The g stands for grams - 500g is half a kilogram or about a pound.
Jane says
Hi. I am about to try and make some mulberry jam from the berries on my very small and very young tree. Every day I would go out and pick whatever fruit was ready, bring it inside, wash it and put it in a container in my freezer. The idea was to build up a supply of enough to make a jam. I do not know how much they weigh, but I will soon find out.
Next time I might even try adding a little bit of choko to the mix to bulk it up since chokos are known to take on the flavour of whatever they come into contact with...but NOT this time as it will be my way of testing to see if it makes a difference to the taste.
Claire says
Hope the jam turned out to be successful. Great tip to share on chokos. Enjoy!
Patricia Fultz says
Can you freezer this jam?
Claire says
I don't see why not!
Fay says
Claire. Cut a twig or two from your favourite mulberry tree and plant it. How they grow! Same with figs. Green fingers.
Claire says
Thanks for the tip Fay!