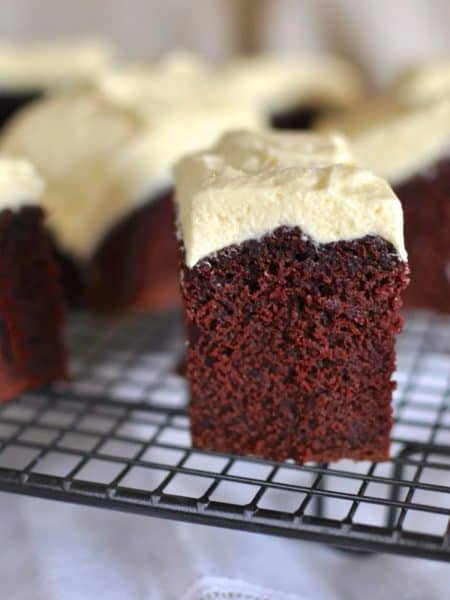
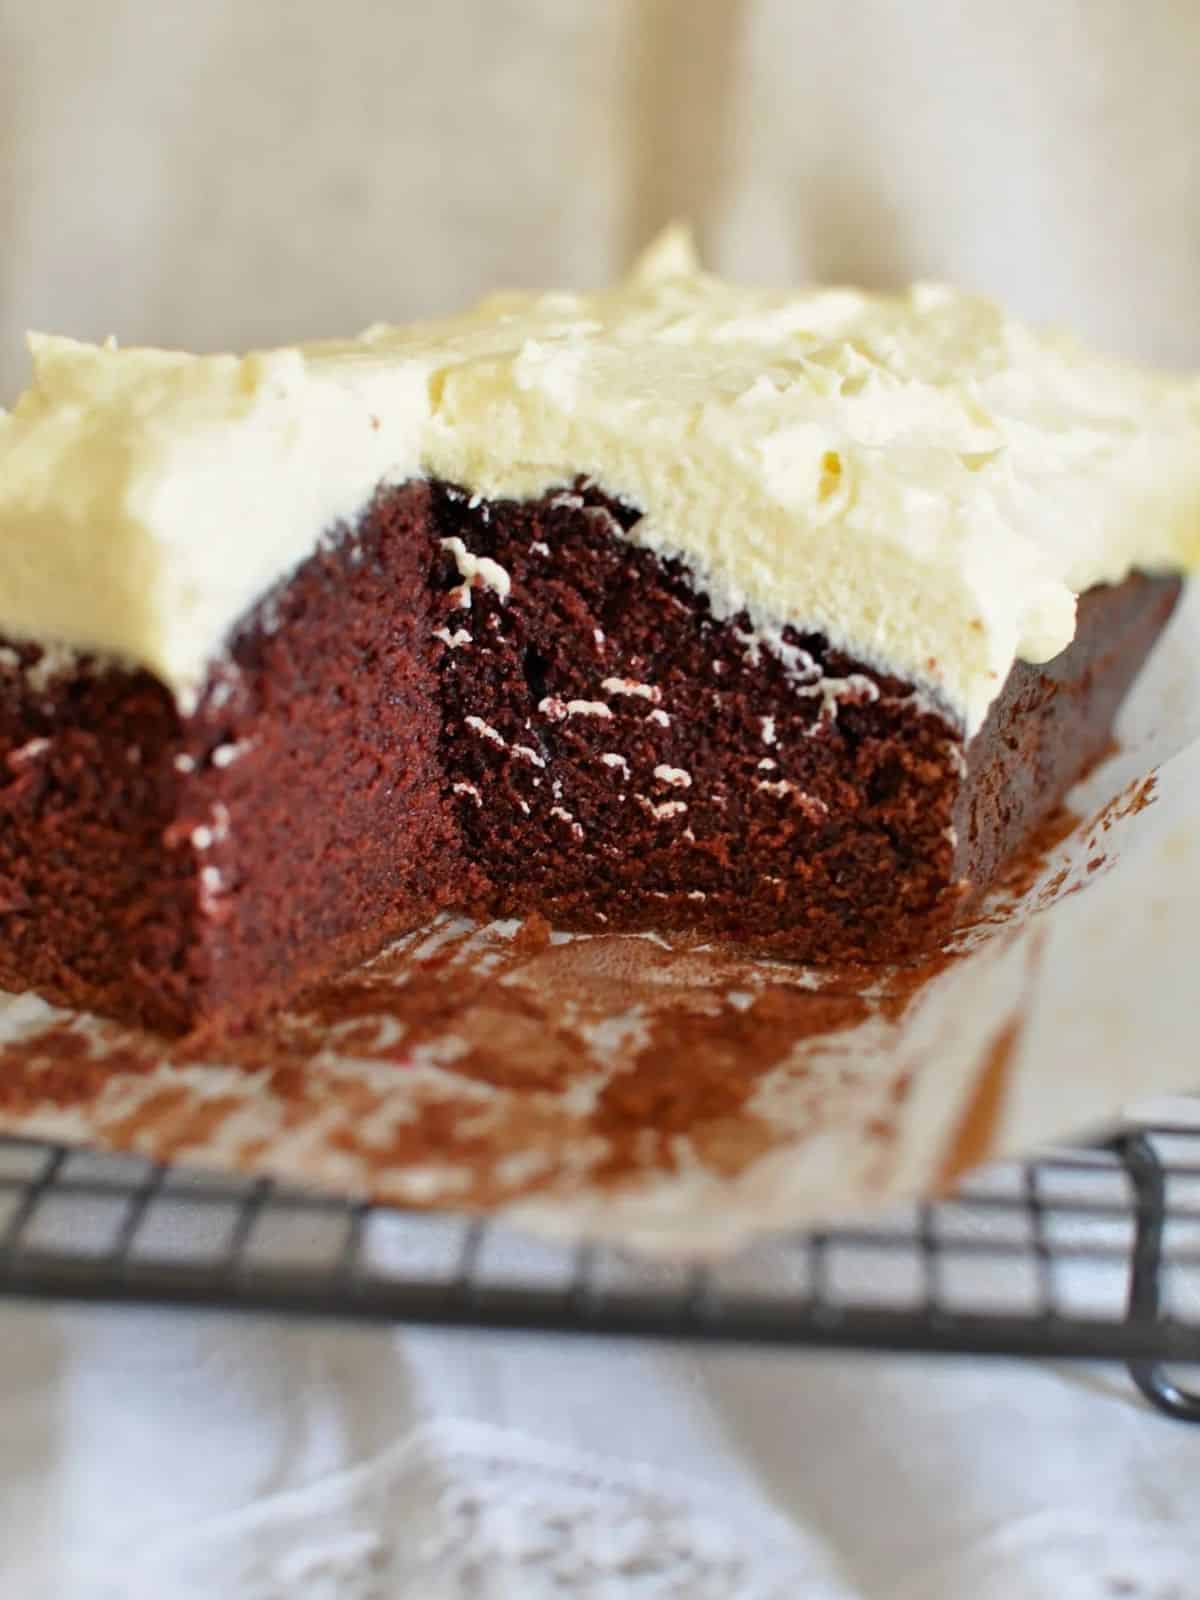
A bite of red velvet cake with buttercream icing & you’ll go straight to your happy place. I’d say it’s one of the best cakes I’ve made. It's sure to become a family favourite.
I’d love to know who was baking one day and thought to themselves ‘I know what would perfect this recipe, a generous dose of red food coloring!’
Such a bizarre missing ingredient but it somehow manages to turn a humble chocolate cake into something pretty amazing.
Why this red velvet cake recipe
- Next level deliciousness - A traditional red velvet cake apparently has cream cheese buttercream but this recipe uses an American-style buttercream ‘frosting.’ It takes it to a whole new level.
- Rich, moist & velvety - this cake has the perfect soft, tender crumb with just the right balance of chocolatey goodness & a little tang.
- Perfect for any occasion - whether it's a Birthday, anniversary or just a 'treat yourself' day this red velvet cake is a show stopper.
- No special skills required
If you can resist going back for seconds, you’re much stronger-willed than me.
Jump to:
Recipe Ingredients
CAKE
To make this red velvet cake you will need:
- Water - preferably filtered
- Butter - pure butter not margarine (most recipes say to use unsalted butter but I usually use salted)
- Cocoa
- Plain flour - also known as all-purpose flour (or cake flour can be used).
- Caster sugar
- Baking soda
- Salt
- Eggs
- Buttermilk (or use milk soured with a little lemon juice)
- Vanilla - Here's how to make your own vanilla extract.
- Red food colouring - if you can get your hands on gel colouring it's the best for this.
How To Make Red Velvet Cake
The method is a little bit different to a classic red velvet cake apparently.
It a different method to any cake I've made.
Actually in the magazine, these are called brownies but I don’t see one part of them that even remotely resembles a brownie (or is that cake in America?) so I called it cake.
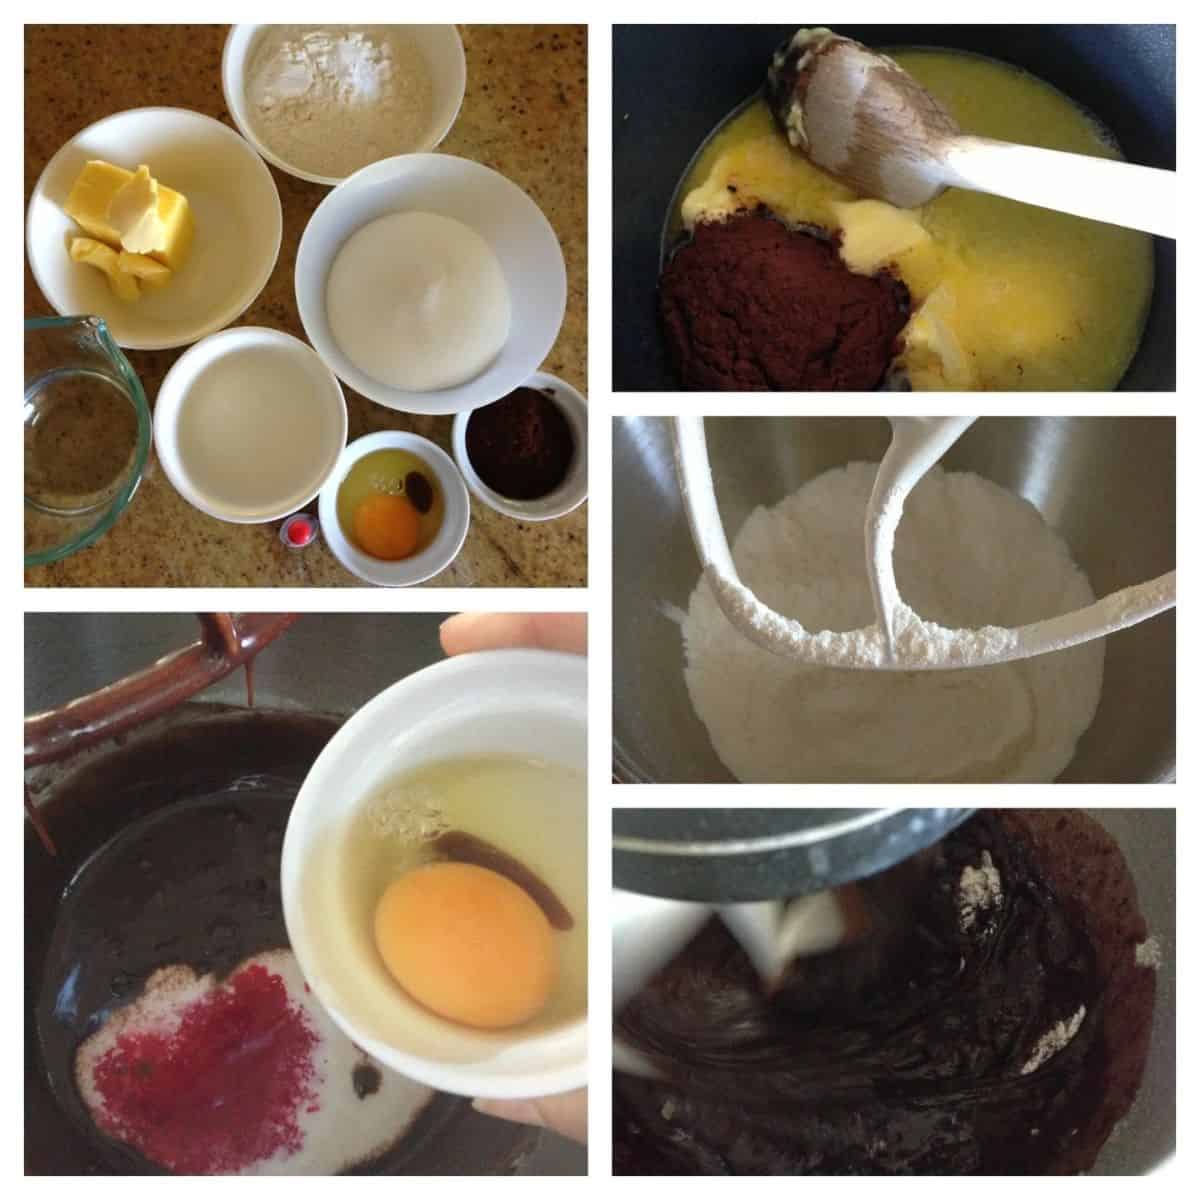
- You start by melting the butter in a small saucepan then add the water and cocoa and stir it all together until it’s smooth.
- Take the saucepan off the heat.
- Put the flour, sugar, baking soda and salt (the remaining dry ingredients) in the bowl of a stand mixer with the paddle attachment in and then pour the chocolatey mixture over the flour mixture.
- Mix it on low speed to begin with (not LOW if you don’t want chocolate from one end of the kitchen to the other) and then increase the speed to high and beat until everything is very well mixed together.
- Add the red colouring, egg, buttermilk (or soured milk like I used) and vanilla then start on low speed again and increase it to high to beat everything well.
- The batter is really really runny at this stage. I actually didn’t think there was even a slither of hope that it would bake into something resembling a cake but I kept on going.
- Use a rubber spatula to scrape the batter into a prepared tin. It’s best not to use a spring-form tin or it might drip all over your oven.
- Once you’ve licked the bowl, pop the tin into the oven at 160C for 25-30 minute or until a cake tester comes out clean.
- Once it’s cooked, leave it to cool completely in the tin.
If you watch Two Broke Girls you might have seen the ‘buttercream is a b-i-t-c-h’ episode.
They have a little cupcake business and get an order for 60 cupcakes with buttercream frosting which they have to transport on the subway.
I’ve always thought buttercream was just butter beaten with icing sugar and a little milk or water the thin it so I wasn’t quite sure what the big deal was with transporting cupcake topped with it across New York in summer.
Actual American buttercream is completely different to what I thought.
It’s light and fluffy and not too sweet and there’s not a bit of icing sugar (or powdered sugar) in it.
The downside to the buttery goodness is that it’s very temperamental and easily splits resulting in a melted, ugly mess.
I think it’s best to serve buttercream icing-topped items straight away.
American buttercream is a delicious, fluffy but not-too-sweet frosting quite different to the buttercream we’re used to here in Australia.
Icing Ingredients
To make American buttercream icing for this red velvet cake you will need:
- Caster sugar (also known as superfine sugar)
- Milk - I always like to use full-fat milk (also called whole milk) in baking for more flavour.
- Plain flour - also known as all-purpose flour
- Salt
- Vanilla extract
- Butter - the butter is really important. Make sure you use the real stuff that comes wrapped in foil not something in a tub with added ingredients.
How To Make Buttercream Frosting
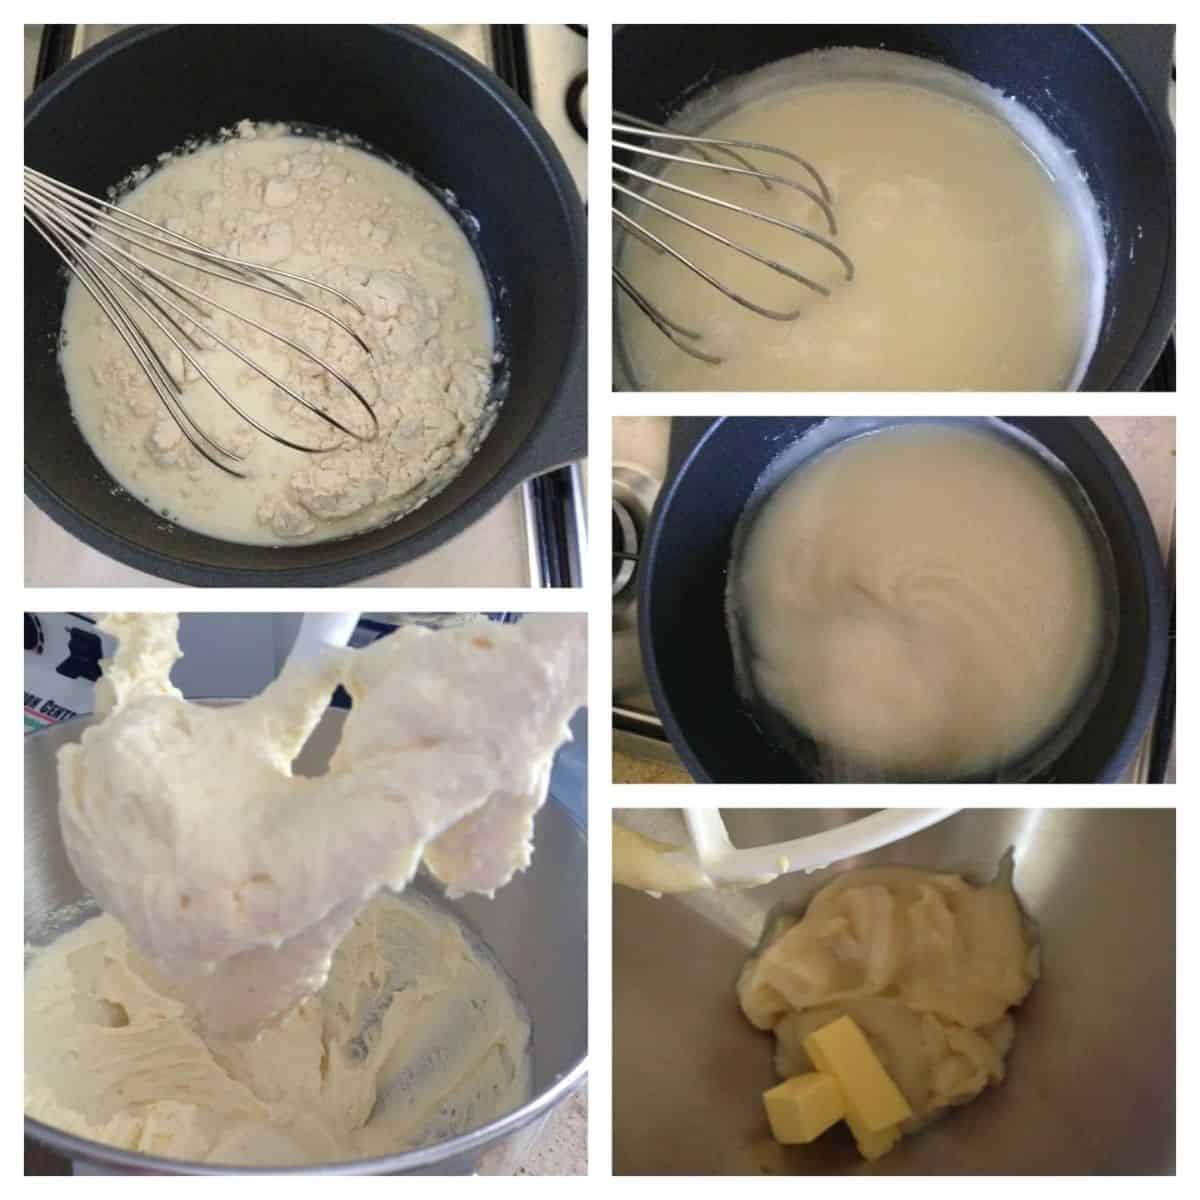
To make it, heat the sugar, milk, flour and salt in a small saucepan, whisking constantly until it starts to bubble and thicken.
It probably takes about 5 minutes.
Once it starts to thicken, reduce the temperature and whisk it for one more minute then take it off the heat and add the vanilla.
Set it aside to cool to room temperature.
Don’t be tempted to move on to the next step before it cools or your icing won’t be too pretty.
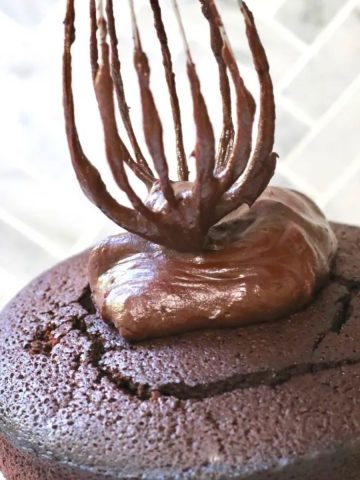
Once it is cool transfer the mixture into the bowl of an electric mixer then a little at a time, add the softened butter, beating until the icing is thick and smooth.
It might start to curdle a little but keep on beating – it’ll smooth out eventually.
When your icing is ready, spread it into the top of the cake (an offset spatula will make the job easy) and call your friends.
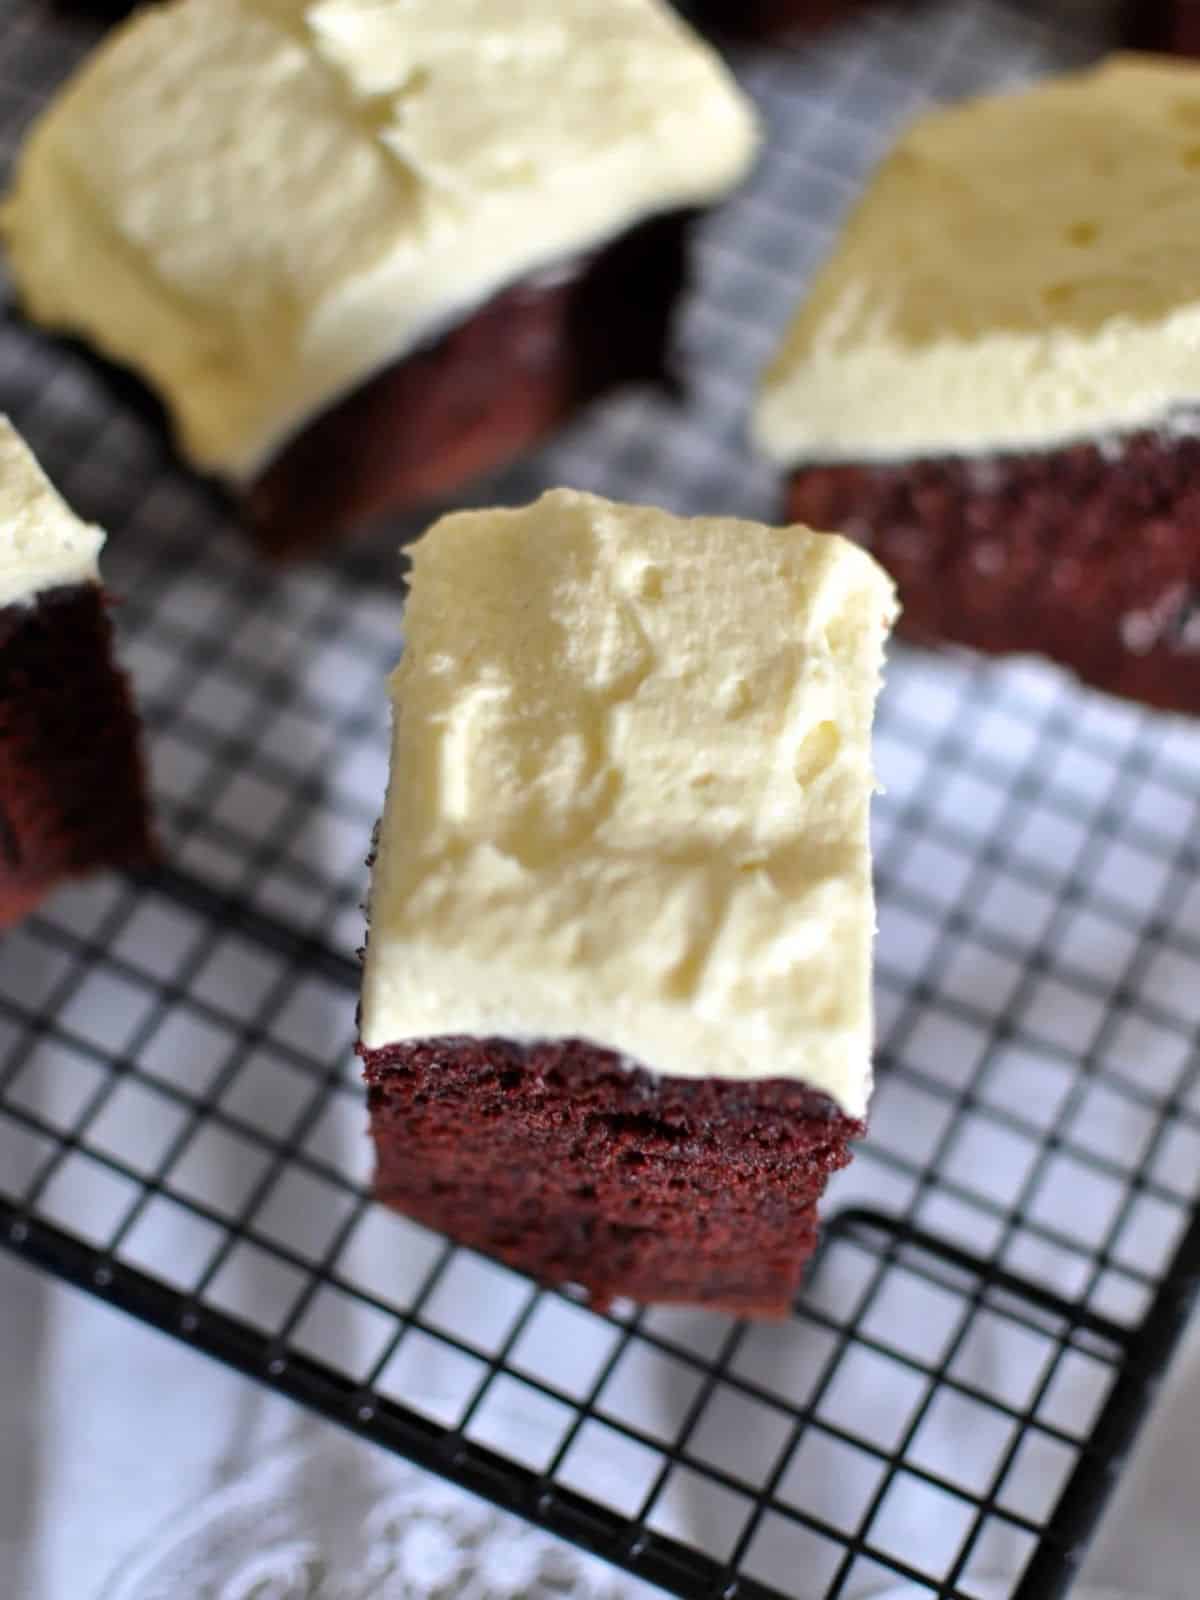
The creamy frosting can be spread down the sides of the cake but I think it looks better piled on top.
You don’t want to be alone with this once you’ve got a taste for it let me tell you.
It looks like there’s a lot of icing for such a small piece of cake but believe me, it’s just right. It's also best cut in individual slices this big to slow you down.
Being red and white, it’s the perfect cake for your Christmas dessert table (oh sorry is it just me who has an entire table dedicated to dessert?).
It would also make a perfect Valentine's Day dessert.

Recipe FAQs
Natural cocoa powder is the best cocoa to use for red velvet cake as it has the most authentic chocolate flavour.
The other reason is to lower the pH of the cake. This is getting a little technical but to get a true red colour, we want to have a more acidic cake.
It's why we use baking soda instead of baking powder and buttermilk instead of regular milk.
If you use a dutch processed cocoa or cacao powder then I would recommend adding a teaspoon of white vinegar to the recipe so the red colour is vibrant.
Red food colouring comes in 3 different types - liquid, gel and powdered.
This recipe uses liquid food colouring.
If using gel food coloring (which probably gives it the best red colour), start with ⅓ of the amount and add more to get the desired colour as in the photos.
Unfortunately, the natural food colourings would probably not be strong enough for this recipe but if I were to try one, I'd go with beetroot.
Absolutely you can.
It should make about 12 regular size cupcakes.
Line a cupcake tray with wrappers then divide the cake batter between them.
The bake time will be less than a whole cake.
Bake them at the same temperature for 15-20 minutes or until a cake tester comes out clean.
Take them out of the tin to cool on a wire rack.
Enjoy!
What about you?
Did you get on the red velvet bandwagon?
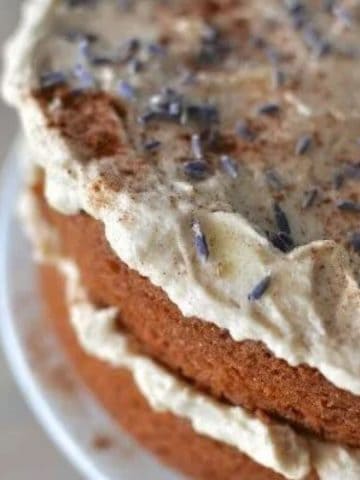
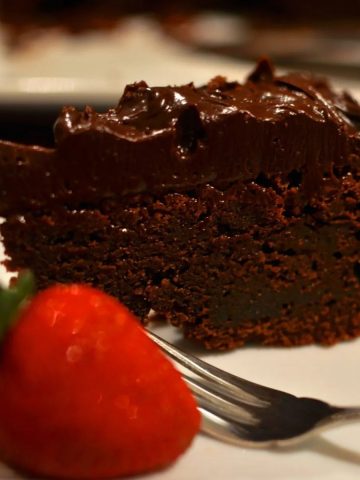
More cake recipes you might enjoy
Recipe

Red velvet cake with buttercream icing
Ingredients
Cake
- 1 cup water
- 250 g butter
- ⅓ cup unsweetened cocoa powder
- 2 cups plain flour
- 2 cups caster sugar
- 1 teaspoon baking soda
- ¼ teaspoon salt
- 2 eggs
- ½ cup buttermilk or use milk soured with a little lemon juice
- 1 ½ teaspoon vanilla
- 2 tablespoon red food colouring
Icing
- 1 ½ cups caster sugar
- 1 ½ cups milk
- ⅓ cup plain flour
- pinch of salt
- 2 teaspoon vanilla extract
- 375 g butter softened
Instructions
- Pre-heat the oven to 160C fan-forced and grease and line a 30x20cm baking tin. Make sure you extend the paper over the sides.
- Place the butter in a medium saucepan and heat it over medium head until it melts then add the water and cocoa and bring it almost to boiling, stirring constantly.
- Place the flour, sugar, baking soda and salt in the bowl of an electric mixer and briefly beat them together.
- Add the cocoa mixture to the flour mixture and beat on low speed until just combined then increase the speed to high until everything is well mixed in.
- Add the eggs, buttermilk, vanilla and red food colouring and beat on low until everything is mixed in then up the speed to high for one minute.
- Scrape the batter into the pan (it will be very runny).
- Bake the cake for 25-30 minutes or until a cake tester inserted in the middle comes out clean.
- Leave it to cool in the tin on a wire rack.
- Meanwhile make the buttercream icing.
- Place the sugar, milk, flour and salt in a medium saucepan and heat, whisking constantly, over medium heat until the mixture thickens and starts to bubble.
- Reduce the heat to low and heat, continuing to whisk, for a minute.
- Remove the pot from the heat and stir in the vanilla then leave the mixture to cool to room temperature.
- Transfer the cooled mixture to the bowl of an electric mixer.
- On medium speed, start to beat the mixture and then add the butter one tablespoon at a time.
- Keep beating until it is thick and smooth (it may look curdled but keep beating and it will come together).
- Spread the cooled cake with buttercream icing.
- Serve immediately.
Sophia Sangki says
Is there No baking powder on it? Tnx
Faiza Farouk says
Claire,can i freeze the remaining buttercream icing in the fridge for future use?
Claire says
You sure can Faiza. If you're going to pipe it later, I recommend making it into a log and wrapping in plastic wrap then twisting the ends and popping the whole thing in a freezer bag. When you want to use it, defrost then snip off one of the ends and drop it straight into the piping bag still wrapped in the plastic wrap.