If you’re looking for a recipe for classic pumpkin scones the old fashioned way (just like CWA pumpkin scones) then look no further than this (no mixer required!) easy pumpkin scone recipe.
This recipe is a classic like the Country Women’s Association.
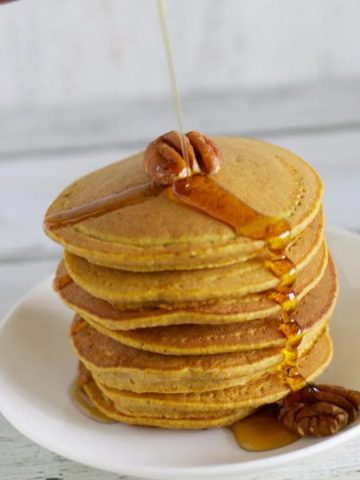
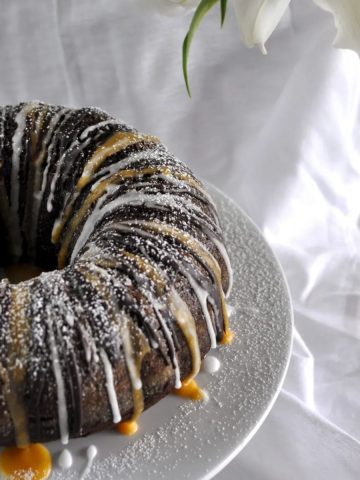
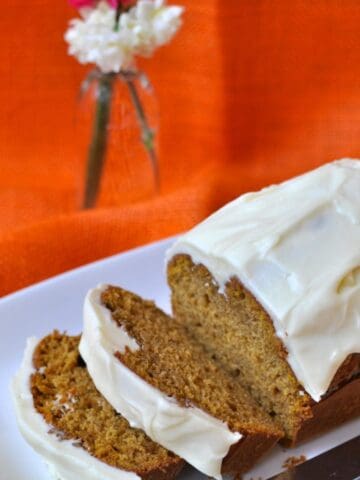
More sweet pumpkin baking recipes: gluten free maple pumpkin pancakes, healthy pumpkin apple muffins, chocolate pumpkin spice bundt cake, spiced pumpkin loaf cake with cream cheese icing.
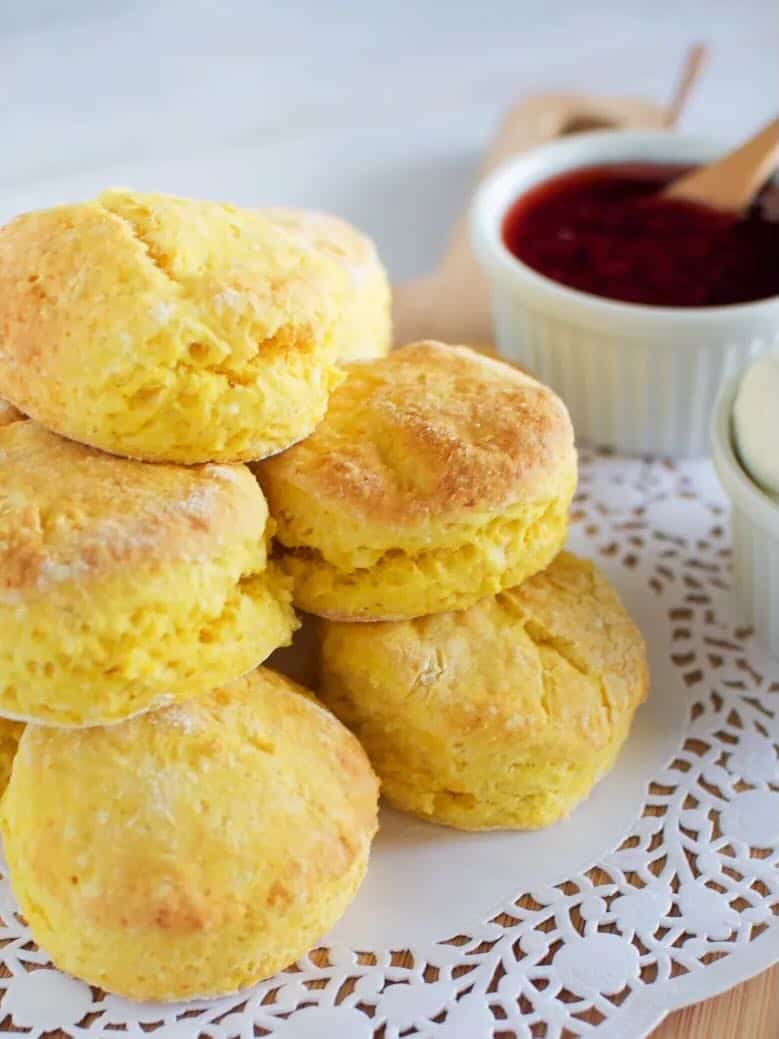
Why you'll love this pumpkin scone recipe
- They're absolutely delicious.
- It's a CWA style recipe so always bound to be the best version you can find (trust me).
- They're easy to make - no equipment required.
- I've been told they rival Starbucks pumpkin scones.
So happy to find this easy pumpkin scones recipe! I knew what I was looking for for an afternoon tea, but the pumpkin scones recipe I was finding were so complicated, or too sweet…this one is JUST right! - Stephanie
Jump to:
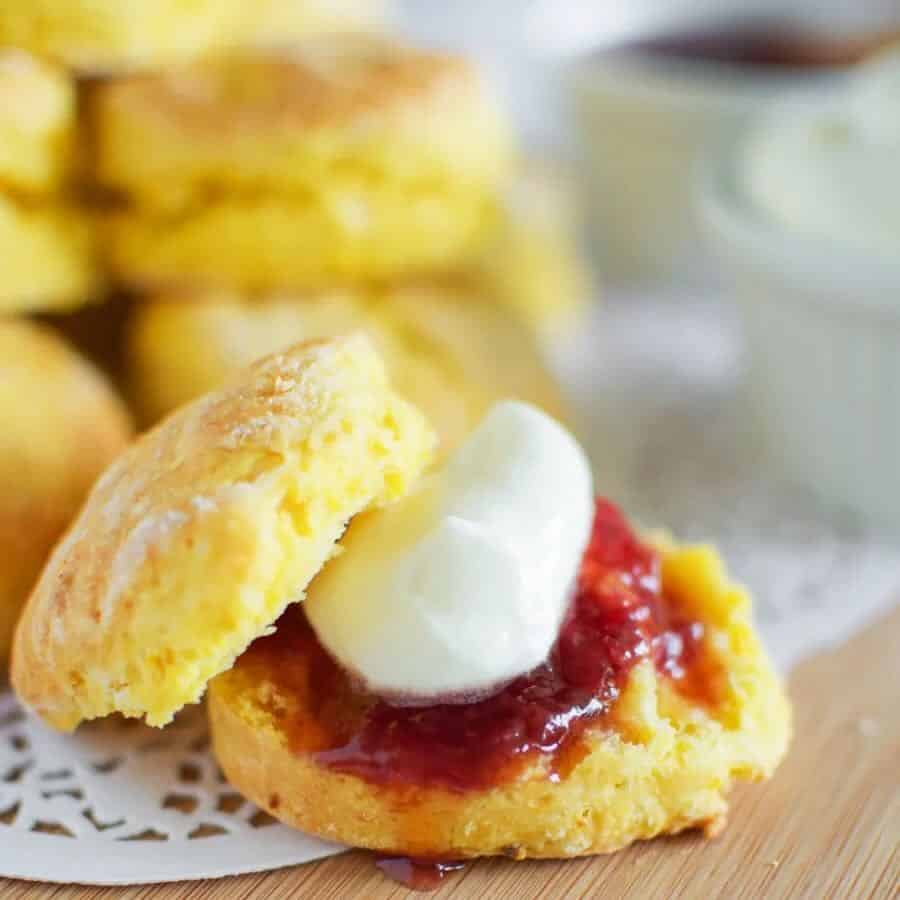
Ingredients for pumpkin scones
To make pumpkin scones you will need:
- Self-raising flour – don’t have any? Here’s how to make self-raising flour from plain flour.
- Cooked mashed pumpkin aka pumpkin puree – I like to steam the pumpkin to cook it. The best pumpkin to use is Queensland Blue (or any sweet pumpkin).
- Raw sugar – or regular white sugar if that’s all you have (or brown sugar in a pinch).
- Butter – the real type that comes wrapped. Don’t use margarine. Unsalted butter is preferable and make sure it is cold.
- Egg – about 70g
- Full-fat milk – you can use light if that’s all you have but full-fat will create the best flavour and consistency.
Ingredient Substitutions
Yes you can absolutely use pumpkin pie filling to make these delicious scones.
It’s not something commonly found in Australia but in the US and Canada it comes in a can.
Homemade pumpkin purée is really easy to make though.
All you need to do is steam or boil it then either mash with a potato masher or use a food processor to puree.
You can make self-raising flour by adding one teaspoon of baking powder for every half a cup of plain flour.
So for this recipe you’d need 2 cups of plain flour and 4 teaspoons of baking powder.
In theory yes, you could use margarine in place of butter.
For flavour and texture, butter will give better results.
In terms of my personal opinion, margarine isn’t a real food.
It contains a mixture of different oils and chemicals and in my opinion, is best avoided.
Yes. Eggs help to bind the ingredients and help your scones to rise.
Recipe FAQs
The best pumpkin scones are made from the Queensland Blue pumpkin.
If you’re making Lady Flo’s recipe then you really should stick to a Queensland pumpkin!
But if you can’t find them, you can use whatever you can find that has the best flavor.
Yes you can use a food processor. It's a great way to mix the butter into the dry ingredients.
When adding the wet ingredients though, it's best to do it by hand or whiz is very gently.
Yes it does.
The reason you need cold butter for making scones is to make sure the butter stays solid until it’s in the oven.
When it melts only at a high temp, it creates beautiful, flaky layers and pockets (it also helps them to rise).
Scones and American biscuits (in Australia biscuits are cookies -it’s all very confusing) are very similar.
An American biscuit is more bread-like and usually savoury.
There are four common reasons scones don't rise.
1. Over-kneading.
2. You twisted the cutter.
3. They were too far apart on the tray.
4. Self-raising flour was off.
For more details see the explanations below.
If you really want to get a good rise on your scones you can even freeze your butter prior to adding it.
The dough can also be chilled before baking for super scone rise.
Cut out the rounds and arrange them on the tray then put the tray of raw scones into the fridge for 20 minutes.
Had pumpkin in the fridge and having no idea what to use it for, I turned to the internet and voila! Pumpkin scones:) This recipe was easy to follow and so yummy! I took pics of the whole process as well. Thank you for sharing! Marta
Serving & storage
Can you bake them ahead of time?
Scones are best eaten on the day they’re made.
If you’re making them ahead of time, first make sure they are completely cool.
Once cool, wrap them tightly in plastic wrap and store at room temperature for up to several days.
How to reheat scones
Scones are best reheated in the oven.
Wrap them in aluminium foil and heat until warmed through.
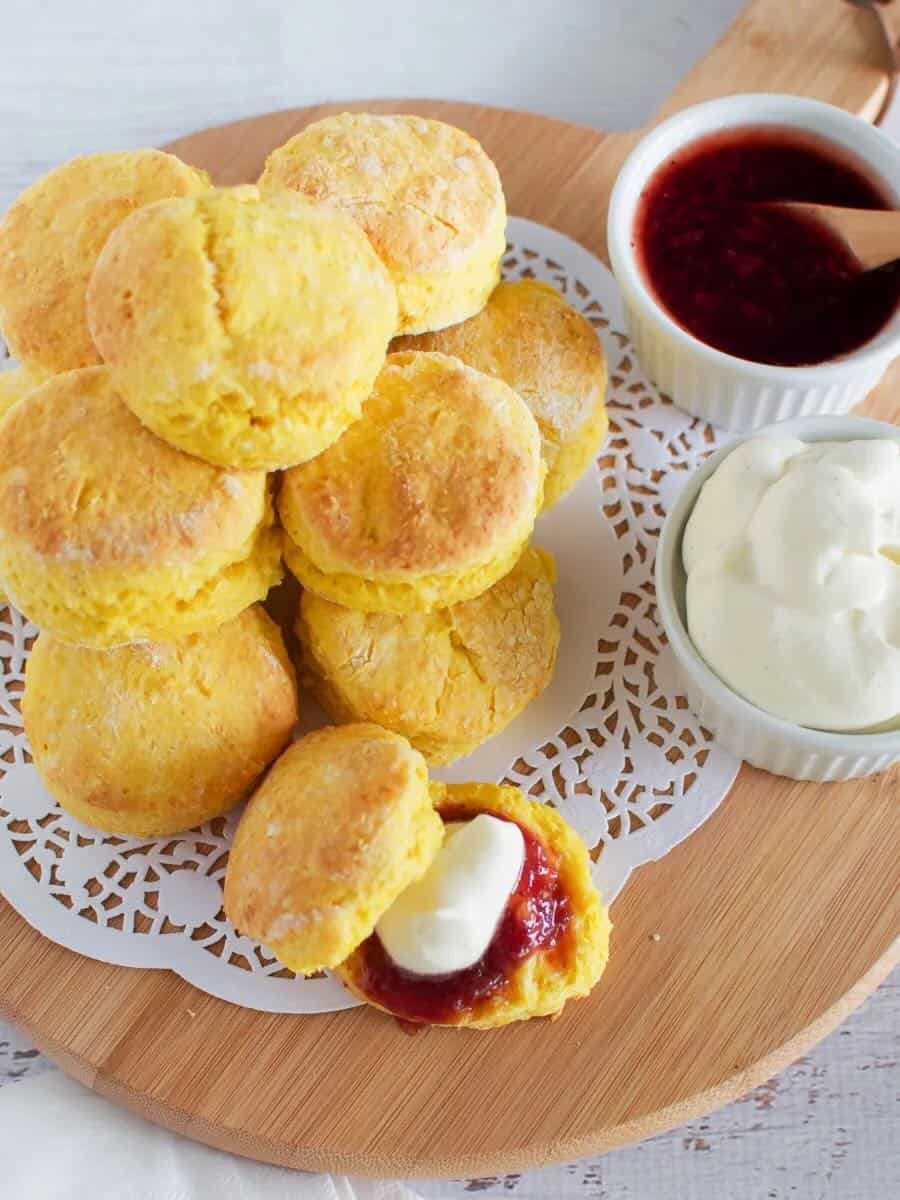
Serve with
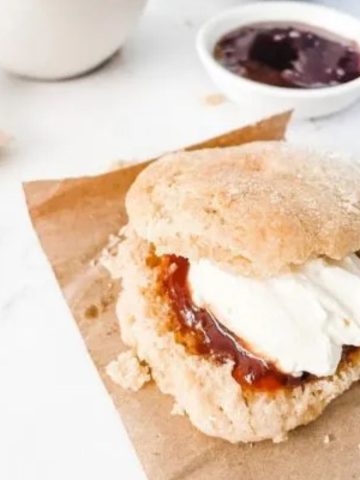
- Simple mulberry jam goes perfectly with pumpkin scones
More pumpkin recipes
If you like pumpkin scones, you may enjoy some of our other pumpkin recipes:
More scone recipes
Not a fan of pumpkin?
You might enjoy some of our other scone recipes:
MADE THIS RECIPE AND LOVED IT? Please leave a ⭐️STAR rating and COMMENT below- I love connecting with you! Tag me with your creations on Instagram and find me on Pinterest.
Recipe

Pumpkin scones the old fashioned way
Ingredients
- 2 cups self-raising flour
- 1 cup cooked mashed pumpkin
- 2 tablespoon raw sugar
- 2 tablespoon butter
- 1 egg
- 2 tablespoon full-fat milk
Instructions
- Pre-heat the oven to 180C (356F) fan-forced and line a baking tray with baking paper.
- Sift the flour into a large bowl.
- Add the sugar and whisk it through then use your fingers to rub in the butter until the mixture resembles bread crumbs.
- Add the egg, milk and pumpkin and fold them through.
- Turn the dough out onto a floured surface, flour your hands and pat it out to about 2-3cm thickness.
- Use a floured, round cookie cutter to cut out rounds and place them on the tray so they are just touching.
- Gently pat any excess dough together then let it rest a few minutes and pat out and cut out more circles.
- Bake the scones for 10-15 minutes or until golden.
- Transfer to a wire rack to cool or gobble them up straight away with jam and cream.
Notes
- Always make sure your butter is fridge cold
- The best type of pumpkin to use is the Qld Blue but if you don't have access to it, use a sweet pumpkin.
- Never twist your cutter when cutting your scones. Always press and jiggle for the best rise.
- Scones are best served warm from the oven.
- To reheat - it's best to wrap them individually in foil and heat in the oven at 100C for about 10 minutes.

Danni R S says
Turned out good. Could probably do with more butter. I did what my grandma would do: knead the dough with s/r flour after pouring out on to surface as the mixture is a bit too wet to hold shape. Brush/glaze milk over scones before putting in oven to give shiny and smooth finish.
Claire says
I don't think you can ever go wrong with adding more butter! Love the tip about glazing & kneading with extra flour thank you!
Claire says
THE best pumpkin scones and so simple to make.
Kathleen says
Hi Claire, I made the pumpkin scones today! They are so soft and just scrumptious thank you for the recipe. Better than creaming butter and sugar method, far less messy.
Roberta Gallagher says
Thank you Claire, made these today and they were amazing! I roasted my pumpkin instead of boiling and added 1/2 cup of mixed pepita and sunflower kernels. Served them warm (with butter).
They didn't last long on the plate :)
Claire says
That sounds so good Roberta!
Maz says
Thank you :) These were lovely. I added parmesan cheese (because just about everything is better with cheese) and they were amazing
Cooked at 220 and for 20 minutes - but mine were pretty thick. They were light and fluffy
Claire says
Oh what a delicious addition!
Lisa Ansell says
Tried these today. Great flavour (I added dried rosemary to mine), however the mixture was very sticky, and the scones rose but were quite dense. I noticed that the temp was only 180°C, when most scones are cooked in a hot oven of 220°C plus. I’ll try a hotter oven next time to see if this gives a lighter more airy texture.
Claire says
Hi Lisa. Oh dear that's no good. Flours can vary quite a lot between brands and batches so sometimes a little needs to be added to make it less sticky. I hope the alterations help next time.
Stephanie says
So happy to find this simple recipe! I knew what I was looking for, but the recipes I was finding were so complicated, or too sweet...this one is JUST right!
Claire says
Thanks Stephanie, I agree scones can be tricky but with the right recipe they can be easy!
Marta says
Had pumpkin in the fridge and having no idea what to use it for, I turned to the internet and voila! Pumpkin scones:) This recipe was easy to follow and so yummy! I took pics of the whole process as well. Thank you for sharing!
Claire says
You're welcome Marta so glad you liked it!
Elizabeth says
I love making scones with my hands, it really isn't very hard.... I did a savoury batch in the Thermomix, but it just wasn't the same... I think you are right about the love and time. I do love a recipe with no hand holding, but have found if you do that on your blog, all hell breaks loose!
:) Liz xx
Claire says
Yes I can imagine there would be a lot of questions if I left out detailed instructions. x
Shelby @ Go Eat and Repeat says
These scones sound like a great combination! Especially for the fall when we are inundated with pumpkin spice everything!
Claire says
Ooh a bit of pumpkin pie spice would make these even better!
Lorraine @ Not Quite Nigella says
Hehe I must admit those recipes drive me a bit crazy. Perhaps it's the baker in me but I like the know exact measures. I tried using one of those cookbooks for a custard tart (the traditional ones with the nutmeg) and it was a resounding flop! :P
Claire says
Haha I'm getting better at mixing it up but custard sounds like a tricky one to do without exact measurements.
Maureen | Orgasmic Chef says
Is this Lady Flo's recipe? Every time I mention scones around here someone asks me if I'm going to make Lady Flo's pumpkin scones. I haven't done it yet but one day I'll have to just to shut them up. Your scones are gorgeous.
I don't remember one craving when I was pregnant. I wish I could do it again and then I'd make up cravings for my favourite foods. :)
Claire says
I'm not sure Maureen but they sure are good! Haha yes that would be a good idea especially if you had an obedient husband who would go and get them for you!
Kim says
This is not Flo's recipe. With her's you have to cream butter and sugar together first, though only 1 tbs of butter and 1/2cup of sugar is in her recipe.
Claire says
Thanks Kim!
Hotly Spiced says
Your scones look terrific and there's something really nostalgic about a pumpkin scone. I never go to bakeries but when I was pregnant I was there every day! xx
Claire says
I'm glad I'm not the only pregnant bakery addict Charlie! x
Jeanne says
The lovely lady called Claire who is willing to share recipes with the rest of us has become my mentor in the cooking world. Since the death of my husband some years ago, I have not cooked much at all, but looking at some of her recipes has inspired me to try cooking again -- thank you Claire
Claire says
You are so very welcome Jeanne! Glad I could inspire you back into the kitchen x
Elise Petty says
So pleased you liked the pressie! Can't see the old button to print the recipe here, am I going blind? (totally on the cards). Now I'm making scones this weekend!! xx
Claire says
I did indeed thank you! Haha no not going blind. We're in the process of updating how recipes are displayed. Might be a copy and paste for a while sorry. x