Claire K Creations

  • Home
  • Recipes
  • About
  • Subscribe
menu icon
go to homepage
  • Home
  • Recipes
  • About
  • Subscribe
subscribe
search icon
Homepage link
  • Home
  • Recipes
  • About
  • Subscribe
×
Recipes » Recipes II Claire K Creations

Crispy roasted chickpea nibbles

Published: Oct 3, 2011 · Modified: Apr 23, 2025 by Claire · This post may contain affiliate links · 2 Comments

Jump to Recipe Print Recipe

Crispy roasted chickpea nibbles

For as long as I can remember, my family has had 'cocktail hour.'

It's not necessarily a time for martinis and olives but more of a pre-dinner nibbles and drink.

Try as I might to avoid it, my body is build to require a nice little snack around 6pm.

As you can imagine, this can be a dangerous little habit so I have found a few snacks to quell my stomach grumbling (imaginary or not) and not pile on the kilos.

My latest snack, is crispy roasted chickpeas, a recipe I discovered on Food for tots.

I loved the photography so much I tried to emulate it too.

The good thing about this recipe is you can vary the spices to whatever you have on hand.

I would even give a sweet version a go.

The only downside is having to peel the chickpeas.

It didn't take all that long but seemed like an eternity.

Rinse

You can use dried chick peas if you prefer but they need to be cooked and cooled prior to this stage.

Tip the can of chickpeas into a strainer and run it under cold water until the water runs clear.

Remove skins and dry

Gently remove the skin from each chickpea.

I found if you gently pinch each one towards the end the skin slips off easily.

When they are denuded, lay them in a single layer on a sheet of paper towel and dry them completely.

Nudie chickpeas

Transfer the dried chickpeas to a bowl.

Spice it up

Add the seasoning and oil and toss them around until each one is coated in flavour.

Bake

Lay the chickpeas out on a lined baking tray in a single layer.

Bake them at 180C fan-forced for 30-40 minutes turning them every 10 minutes.

Be sure to keep an eye on them to make sure they don't burn towards the end of the time.

You want them to be golden.

Baked

Leave them on a tray to cool completely.

Crispy roasted chickpea nibbles

Serve the chickpeas and watch them be gobbled up or store them in an airtight container for pre-dinner nibbles.

Enjoy!

You might also like our microwave potato chips.

Crispy roasted chickpea nibbles

Recipe

Crispy roasted chickpea nibbles

Print Pin Rate SaveSaved!
Author: Recipe from Food for tots

Ingredients

  • 1 tin of chickpeas
  • 1 teaspoon olive oil
  • 1 tablespoon of seasoning I used Za'atar
  • salt

Instructions

  • Place the chickpeas in a strainer and rinse under cold water until the water runs clear.
  • Pre-heat the oven to 180C(356F) fan-forced
  • Carefully remove the skins from the chickpeas and lay them in a single layer on a sheet of paper towel. Dry them completely then transfer to a bowl.
  • Add the oil, salt and seasoning to the bowl and toss until all the chickpeas are coated.
  • Place the chickpeas on a lined baking tray in a single layer.
  • Bake them for 30-40 minutes but check every 10 minutes and give them a toss around. Keep an eye on them after 30 minutes to make sure they don't burn.
  • Leave them to cool on the tray and store chickpea nibbles in an air-tight container.
Have you made this recipe? I'd love to hear what you think. Tag me on Instagram @clairekcreations

More Recipes II Claire K Creations

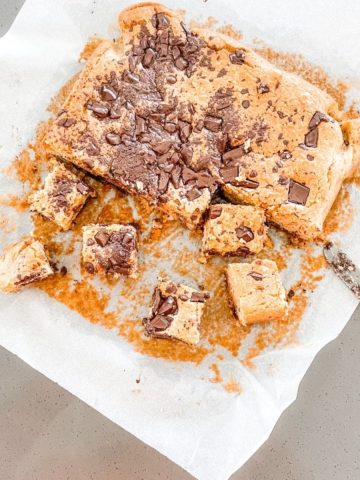
  • Gluten free blondies with chocolate chunks
    Gluten free blondies with chocolate chunks
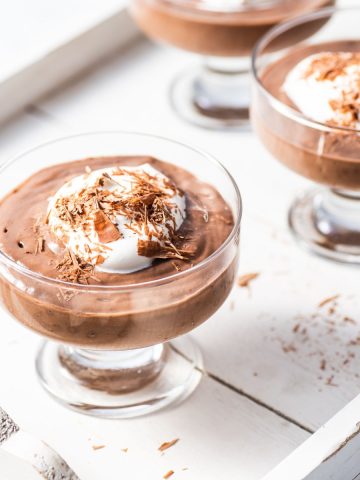
  • Thermomix chocolate mousse
    Thermomix chocolate mousse
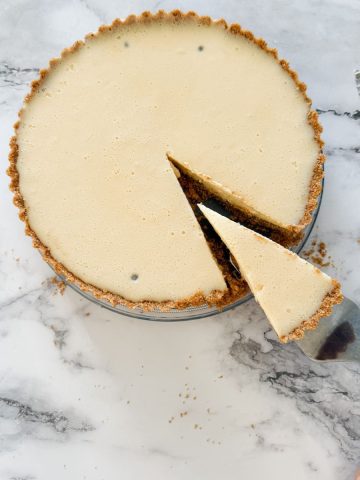
  • Passion fruit tart with a slice out of it
    Passion fruit tart (no bake)
  • Strawberry jam made in the Thermomix
    Thermomix strawberry jam

Comments

  1. Nic@diningwithastud says

    October 04, 2011 at 9:25 am

    Well done on your photography! It looks awesome! Love dried chickpeas - such a great healthy snack

    Reply
    • Claire says

      October 04, 2011 at 1:27 pm

      Thanks Nic. I'm slowly learning more about the camera. Don't quite know enough to justify a new lens yet but soon.

Leave a Reply Cancel reply

Your email address will not be published. Required fields are marked *

Recipe Rating


Claire headshot - Claire from Claire K Creations. 38 year old woman with short blonde hair holding a tea cup standing in a kitchen

Hi I'm Claire!

I make cooking & baking for your family simple & delicious.

More about me

Trending recipes...

  • How to make homemade jelly lollies (gummy recipe)
    How to make homemade jelly lollies (gummy recipe)
  • Mulberry jam and butter spread on pancakes with a small jar of jam in the background and tiny knife. All on pale pink plate
    Mulberry jam recipe - simple, quick & delicious recipe
  • Japanese edamame in a white bowl sprinkled with sea salt on a red tablecloth.
    How to make Japanese restaurant edamame (easy recipe)
  • Classic pumpkin scones_ simple CWA recipe (no mixer)
    Classic pumpkin scones: simple CWA recipe (no mixer)
  • Homemade water cracker biscuit topped with white brie cheese in a white hand. In the background is a square white plate with more crackers and rosemary.
    Easy homemade water crackers: 4 ingredients
  • Chocolate fudge icing made with real chocolate
    Best chocolate icing made with real chocolate (simple recipe)

Celebration cakes...

  • Cinnamon roll pound cake with cinnamon frosting
    Cinnamon roll pound cake with cinnamon frosting
  • Sprinkling icing sugar on a flourless chocolate cake
    5 Ingredient flourless chocolate cake
  • Best vanilla almond cake (with honey lemon syrup)
    Best vanilla almond cake (with honey lemon syrup)
  • Best easy carrot cake cupcakes + cream cheese frosting
    Best easy carrot cake cupcakes + cream cheese frosting
  • Red velvet cake with buttercream icing
    Best red velvet cake with buttercream icing (frosting)
  • Best ever chocolate mud cake
    The best ever ultimate mud cake recipe

Footer

↑ back to top

About

  • Privacy Policy
  • Terms & Conditions
  • About

Newsletter

  • Sign Up! for emails and updates

Contact

  • Contact

As an Amazon Associate I earn from qualifying purchases.

Copyright © 2025 Foodie Pro on the Feast Plugin