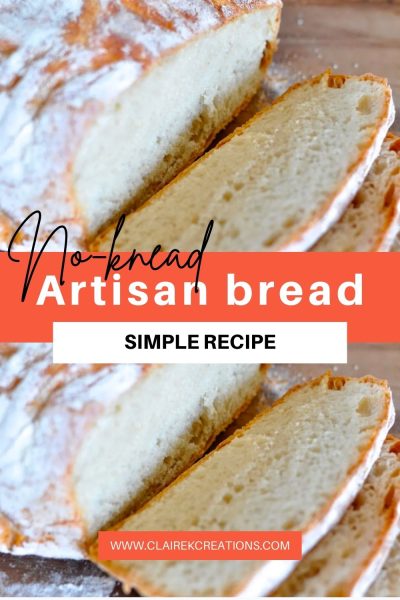
Simple no knead artisan style bread recipe made in Le Creuset (or other dutch oven).

When I was younger I was a champion sleeper.
So much so that Mum had to wake me up to take me to kindy (I’m pretty sure it started about 9.30am!).
I was even such a sleeper that on holidays I would sleep through buffet breakfast.
Can you believe it?
On a family holiday to Fiji when I was about 12, every morning my sister and I would pass on buffet breakfast and instead order it to our room when we decided to emerge from slumber.
The order was the same every day.
‘One long stick bread please.’
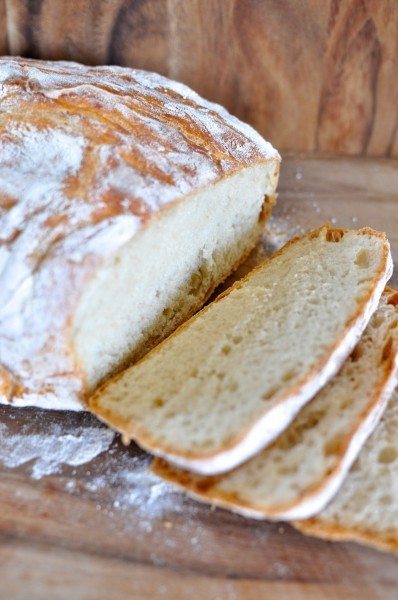
What arrived at our door 20 minutes later was a warm, crusty loaf of the most delicious bread either of us has ever tasted.
Each morning we polished off the whole thing spread with a little butter and Vegemite.
While my sleeping habits have changed a lot since then my love for a fresh loaf of bread has only grown and my love for homemade bread is still growing.
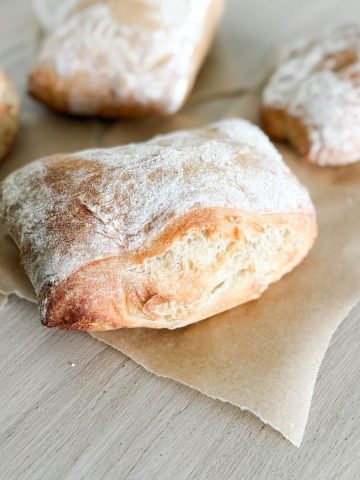
Entitled ‘amazing no knead bread recipe,’ this bread was screaming for me to make it from the second I laid eyes on it.
It looked just like a loaf you’d get at a fancy bakery.
During the whole process I was hesitant.
I couldn’t believe that half a teaspoon of yeast in 6 cups of flour could amount to such deliciousness but that little bit of yeast really worked its magic!
It does take a long time from start to finish compared to regular yeasted bread but there is seriously little actual work involved.
It's a great alternative to sourdough bread if you don't have a sourdough starter.
Baking schedule
I’ll do a little math for you:
- to eat it at 12 midday, start the bread at 4pm the day before
- to eat it at 9am, start the bread at 12 midday the day before
- to eat it at 7pm, start the bread before bed the night before
Ingredients
To make no knead Dutch oven bread you will need:
- Bread flour - bread flour has a higher gluten content than regular flour so it is recommended for making bread.
- Dry Baker's yeast
- Salt - sea salt is preferable
- Water - just are room temperature. There's no need for warm water in this recipe. Filtered is best if possible as the chlorine in water can impact the yeast.

Instructions
Step one
In a large bowl (I used the bowl of my electric mixer) mix the flour, yeast and salt together using a wooden spoon.
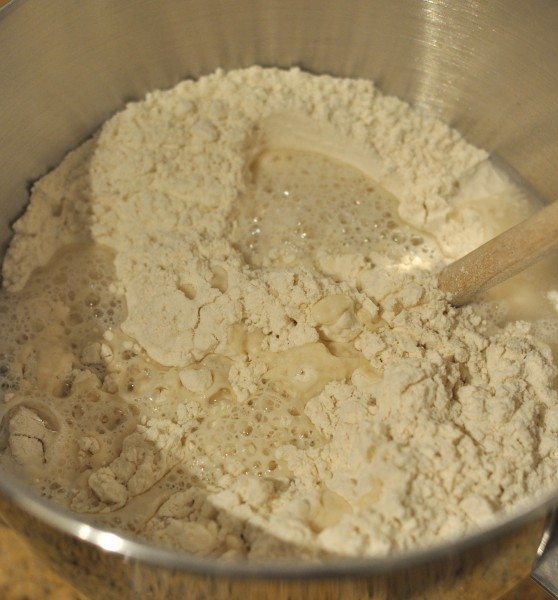
Step Two
Add the room temperature water and mix it in.
I was a bit lazy so used the dough hook attachment to bring it all together for my homemade dutch oven bread.
You just have to mix it until there are no more dry bits and nothing left up on the sides of the bowl.
I added a bit more water than the original recipe (I’ve added it in my recipe below too) because it seemed too dry and it's meant to be quite a wet dough.
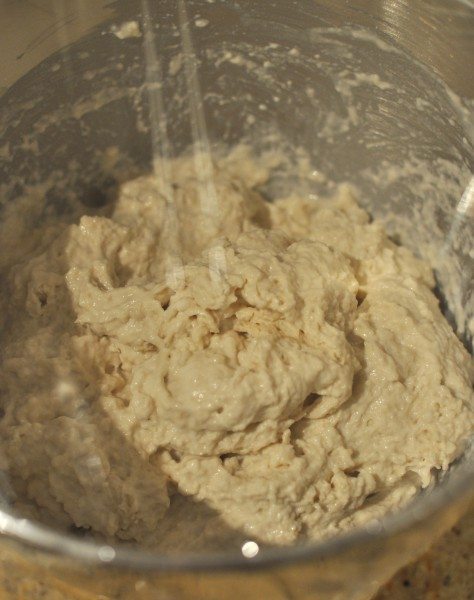
Step Three
That’s it, that’s basically the hardest part.
Now you just need to cover the bread dough with plastic wrap or a tight-fitting lid and walk away for 12-18 hours to give .
It doesn't need to be left in a warm place.
I made mine at about 5 in the afternoon on Saturday.
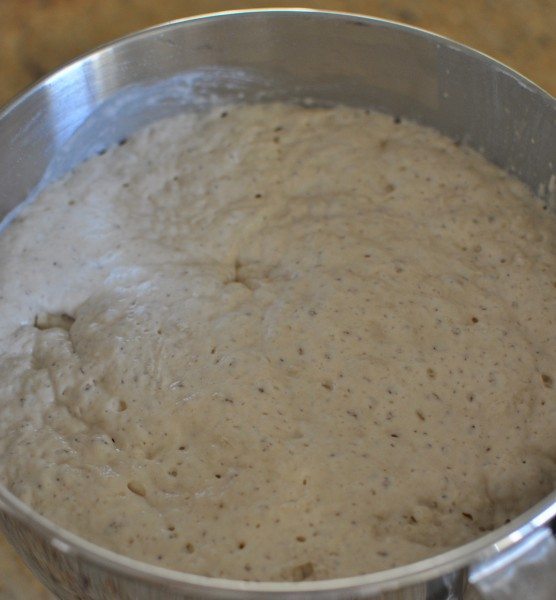
The next day at about 8am this is what it looked liked.
When it’s ready for the next step the sticky dough will have doubled in size and be bubbly on top. It will also smell yeasty (in a good way).
When you first make the dough it just smells like wet flour so you’ll notice the difference.
Step Four
Now you need a lot more flour. Sprinkle it out on top of a clean tea towel (a cotton one).
I just realised I made this step a lot more difficult because I didn’t read the part where it said to tip the dough out onto the towel.
I thought I read to pick it up and use your hands to shape it.
It was mighty tricky balancing all that dough in my hands but I somehow managed.
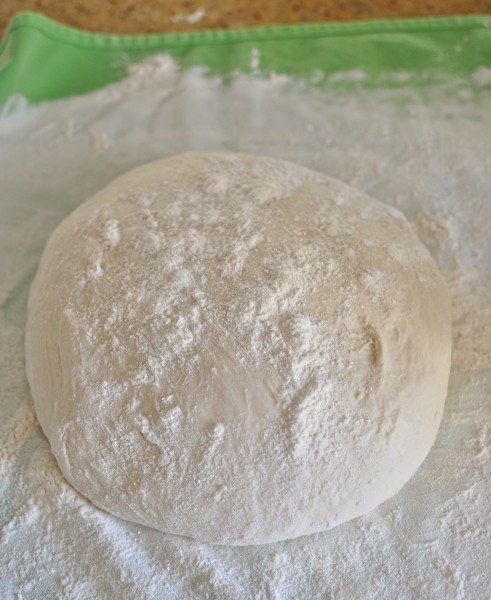
The easier way to do it is to turn the dough out onto the tea towel.
Flour the top of the dough and your hands and then gently start tucking the dough under itself until it makes a smooth ball like the photo above.
It should only take a minute or two.
You’re not kneading, just shaping.
Dust the top of the dough with more flour and then wrap it up loosely with the tea towel or cover it with another one.
Now it needs another rest for 2 hours.
Step Five
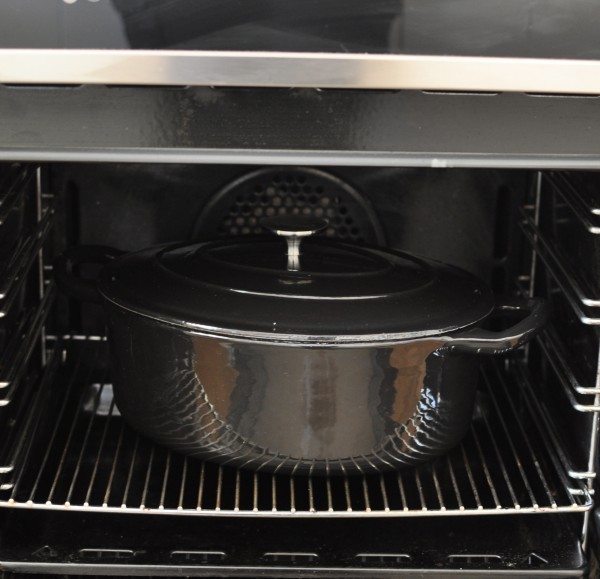
After 1.5 hours, it’s time to pre-heat the oven and the pot.
This is what gives the loaf the Le Creuset name. It was created to bake in a Le Creuset dutch oven.
You don't have to use that brand though - cast iron regular dutch ovens are best but any lidded oven-proof heavy-duty pot will work.
I used a big cast iron pot for my loaf which I got at Aldi.
They still have them on sale once a year (mine is more than 10 years old and going strong).
Pre-heat the oven to 210C fan-forced with the pot inside.

After two hours the dough will have doubled in size again.
Mine was enormous.
Step Six
This is the tricky part.
Take the pot out of the oven and place it on something heat-proof.
It’s best not to do this on top of the stove because the flour does fly around a little and a bench top is easier to clean.
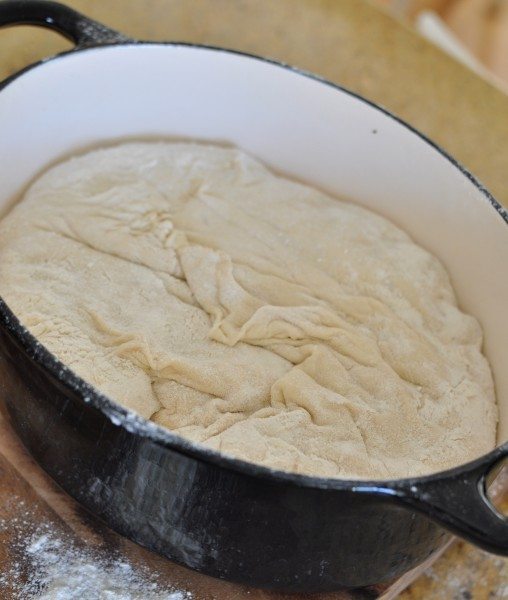
Get your hands under the tea towel and flip the dough out into the hot dutch oven so it’s seam-side down.
It doesn’t need to be pretty, just in the pot.
Mine was quite unattractive but I think it made for a very pretty finished loaf of artisan bread.
Bake it for 40-50 minutes and then use oven mitts to take the lid off and bake for another 5-10 to brown the top.
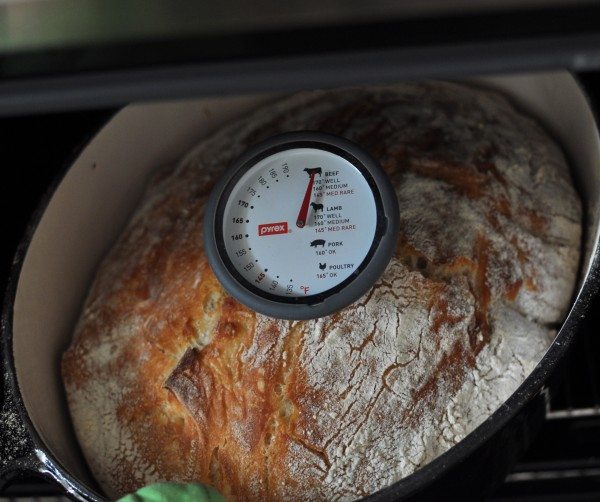
The recipe said that it’s done when it reaches 200 degrees.
I assumed it meant 200C but the other temperatures are in degrees F so I’m not so sure.
Either way, mine was mighty hot inside when it was ready.
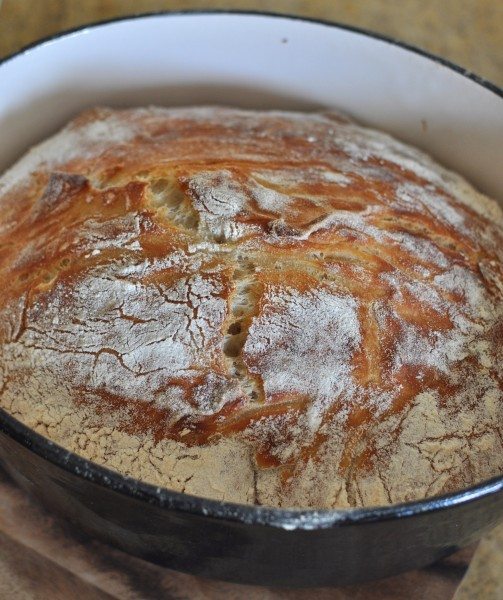
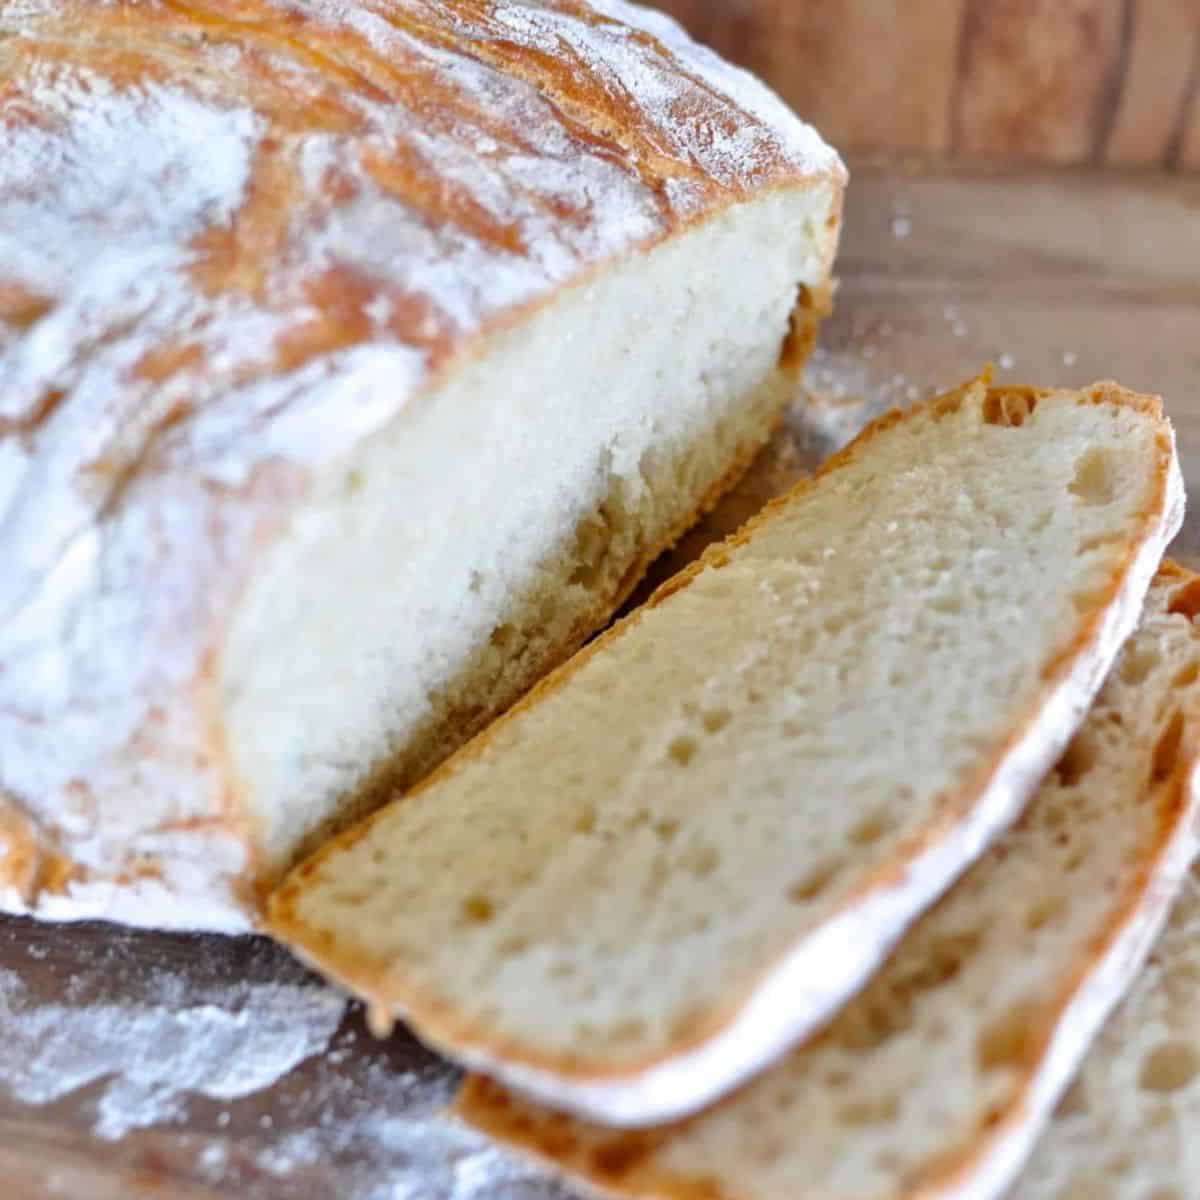
Isn't it beautiful?
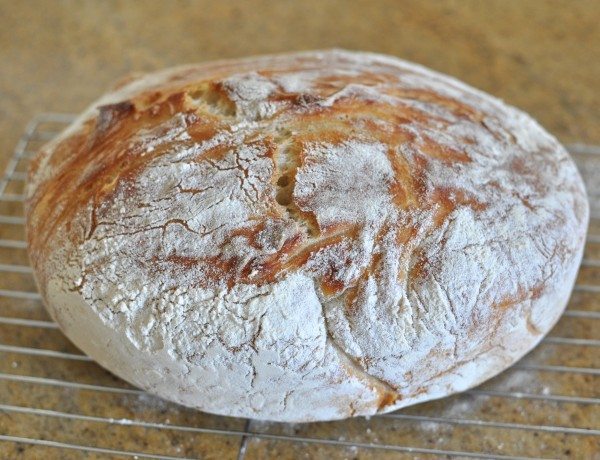
Turn the bread out onto a wire rack to cool.
‘I can’t cut it until it stops talking,’ I said to my husband. Without even looking up he said ‘oh ok.’
I think he must be rather used to my kitchen craziness by now. You have to listen to me too though.
Do not cut the bread until it has cooled and stopped making noises or it will be tough and not tasty.
Admire your bread in all its glory.
Variations
Absolutely you can add flavours to this loaf.
As it sits for a long time at room temperature prior to baking, we recommend shelf-stable flavours like garlic powder (add at the beginning).
A firm cheese like parmesan cheese, grated through the dough would be delicious too.
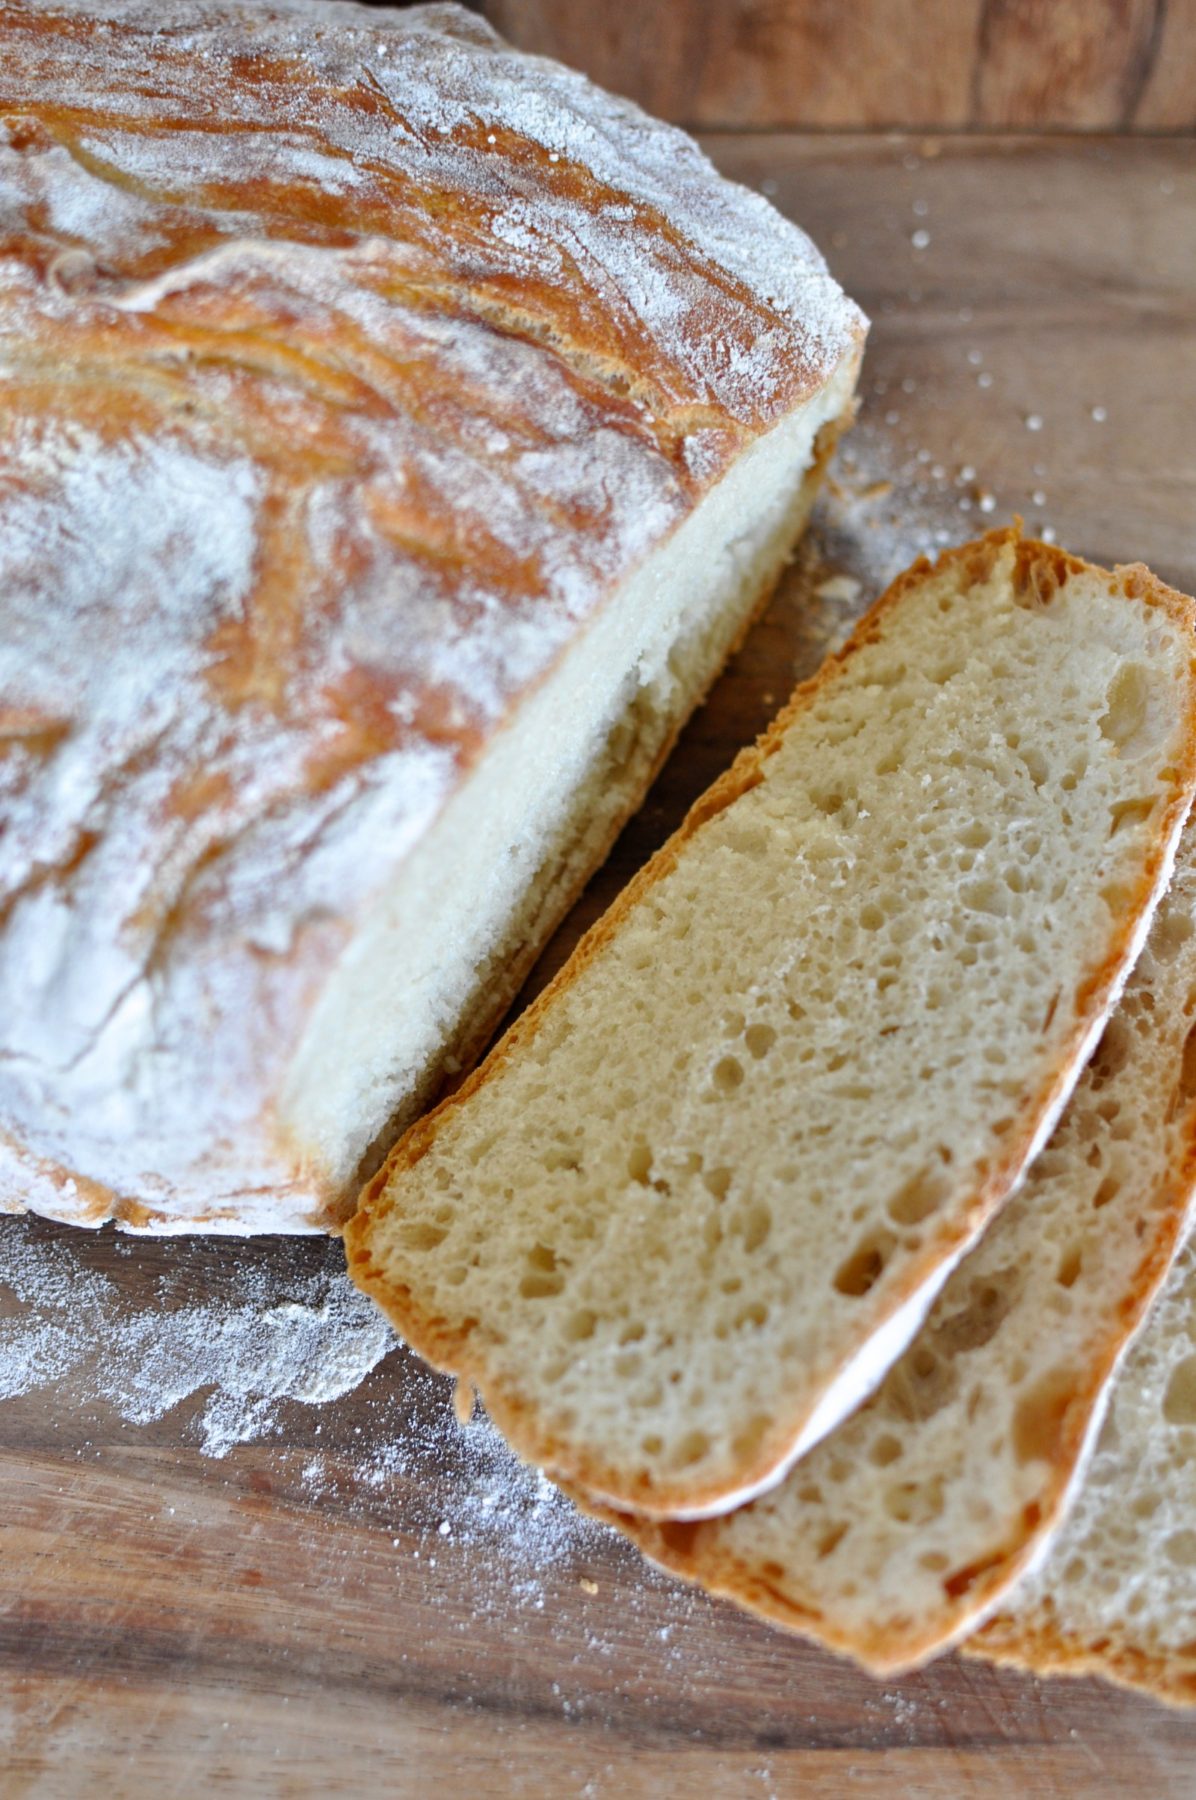
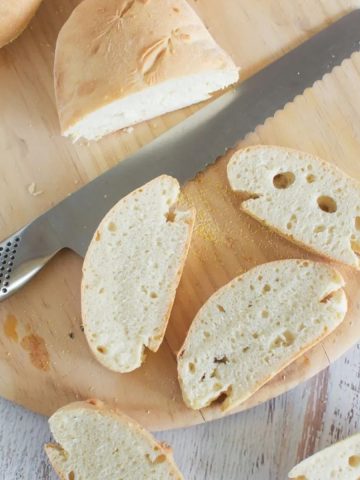
When it has cooled, slice it up with a sharp knife and devour it quickly.
If you like warm bread you can indeed warm it up again or toast it, you just can’t eat it warm from the oven after its first baking.
I had my first slice with mushrooms and feta and was so eager to get into it I nearly forgot to get a photo.
Apparently it lasts a few days.
I wouldn’t know.
Someone ate all mine within 24 hours.
Enjoy!
What about you? Have you ever slept through breakfast? Do you like to make your own bread?

Recipe
Recipe
No-knead artisan bread
Ingredients
- 6 cups bread flour plus extra for dusting and the bench
- ½ teaspoon dry yeast
- 3 teaspoon salt
- 3 cups cool water
Instructions
- In the bowl of an electric mixer, add the flour, yeast and salt.
- Use the dough hook to mix it all together.
- Add the water and, with the dough hook, mix just until the water is incorporated.
- Take the bowl off the stand, cover it in plastic wrap and leave it to rest for 12-18 hours or until it has risen, darkened and started to bubble and smell yeasty (in a good way).
- Flour your hands and the bench.
- Tip the dough out onto the bench and fold it over itself twice then start tucking the sides under until it forms a ball shape.
- Lay a cotton tea towel out and flour it generously.
- Place the dough ball seam-side down on the towel and then sprinkle it with more flour.
- Lightly wrap it in the tea towel and leave it to rest for about 2 hours or until it has doubled in size.
- After 1 ½ hours, place a big, heavy, lidded pot in the oven and pre-heat it to 210C(410F) fan-forced.
- When the dough has risen, remove the pot from the oven.
- Lift the tea towel and carefully flip the dough into the pot so that it is seam-side up.
- Put the lid back on and put the dough in the oven for 40-50 minutes.
- Take the lid off and bake it for another 5-10 minutes or until the crust is golden (the internal temperature will be roughly 200C(392F)when it's cooked).
- Take the bread out of the pot and leave it to cool on a wire rack.
- Don't cut into it until it has cooled completely.
- To keep, wrap in a dry tea towel.


Hotly Spiced says
Congrats on this bread. It's so wonderful and perfect looking. Weren't your parents lucky to have a child who slept! I would have liked one of those! xx
Claire says
Haha yes I was a false introduction to having a baby my grandmother said
The Café Sucré Farine says
Beautiful Claire! Once you start on these breads, it's hard to stop!
Claire says
It most definitely is. It seems crazy to pay up to $6 for a loaf you can make at home for next to nothing!
Corrie says
Oh yum this is my next bread adventure. My last was Pain d'Epi. :-)
Claire says
Pain d'Epi is impressive Corrie! Good luck with this one. I dare say it's pretty much foolproof and oh so good!
Lorraine @ Not Quite Nigella says
I've made this bread and was so delighted at how delicious it was and what a gorgeous crust it had too. Definitely a household favourite here too :)
Claire says
It will be a regular in my house!
Nic@diningwithastud says
Haha perfectly shaped too :) I hate kneading so always opt for a longer rise.
Claire says
That's the other bonus yes! I'm not a fan of kneading either Nic but I do most of it in the mixer now. Good old dough hook!
Maureen | Orgasmic Chef says
Thsi is a gorgeous bread. This is one of my favourites but be warned. If you have a glass cooktop and you start to feel heat coming through the pot holders and you let go... your cooktop will smash into a zillion pieces. just sayin... :)
I have never served this bread to anyone that didn't adore it.
Claire says
Oh dear that's a tough lesson to learn. Good thing I have a gas cooktop.