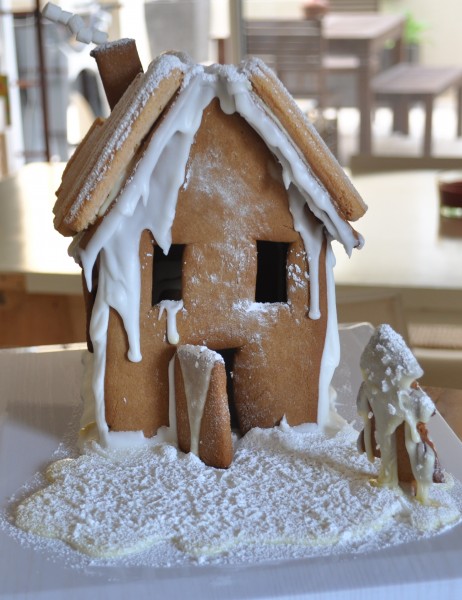
Fairytales seem to have been on my mind a lot lately. I'm not sure whether it's Christmas time that makes me nostalgic but it's definitely a great time of year to be a kid. Hansel and Gretel was the story playing in my head on Friday. Wouldn't a house made of gingerbread be the most amazing place to live? Ok, maybe not to live, it would be a nightmare to clean and you'd be repairing it around the clock but it sure would be a lovely place to visit (as long as someone's not trying to fatten you up to eat you).
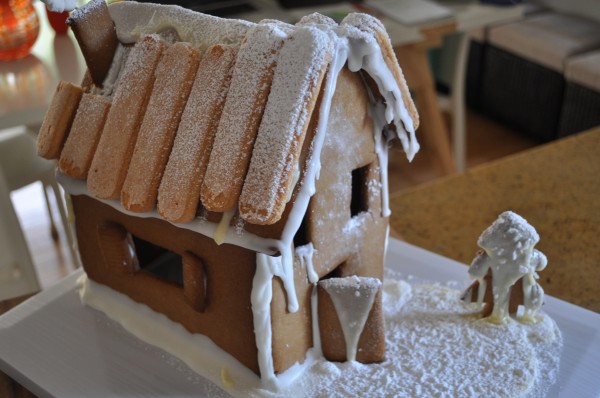
The last few Christmases I have intended to build the house from the fairytale but haven't actually gotten around to it so when my friend asked me to bring dessert to our annual group Christmas party I knew it was time. I won't say it was an easy task but it was lots of fun an a rather satisfying achievement.

As with most things that I am attempting for the first time, I start with a quick Google search. This time I typed 'gingerbread house template' into the search engine and came up with a printable PDF template to build my house. I would attach the link but for some reason I can't. If you type that exact phrase into Google it is the second result that links directly to the PDF. I'm sure there are lots of other templates out there as well or if you're really brave you could whip one up yourself.
I used my gingerbread recipe for the dough. There was just enough to make the house with a tree, 4 window shutters, a chimney and a front door, oh and a little circle of biscuit for me, just to make sure it wasn't going to make people sick ;-).
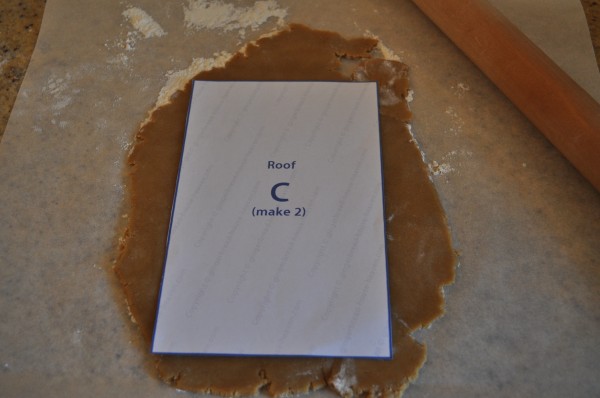
Roll out the dough to about 1cm thickness then cut out the 4 walls and 2 roof pieces.
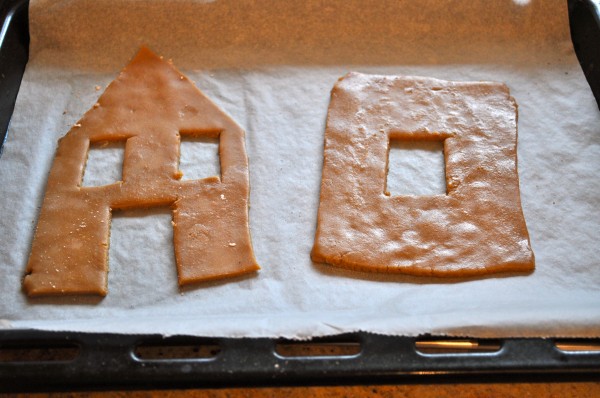
Be extra careful transferring them to the lined baking trays. I found it much easier to transfer them in one piece and then cut out the windows etc once the gingerbread was on the tray ready for baking. The dough will rise and spread a little so make the openings a bit bigger than you want them to be.
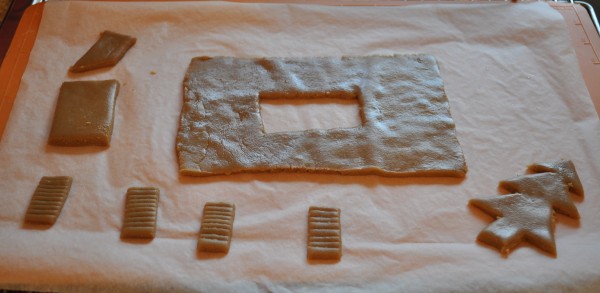
I also make some little shutters but cutting out rectangles and making a indents in them with a knife. I cut out a tree, a rectangle for the front door and another one with a triangular end to form the chimney. Bake everything for a little longer than you would if you were making biscuits. It needs to be nice and firm.
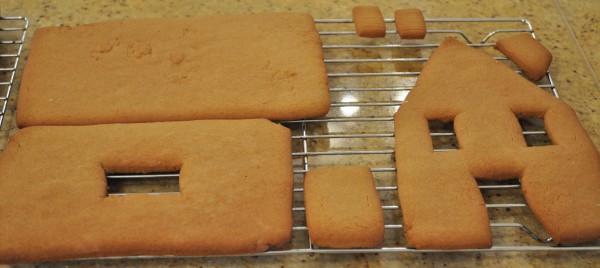
Let the pieces cool on the trays until they start to stiffen and then transfer them to a wire rack to cool completely.
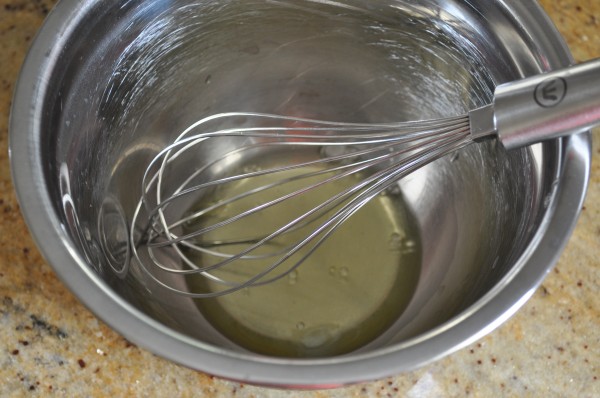
To make the cement icing beat one egg white until it starts to froth.
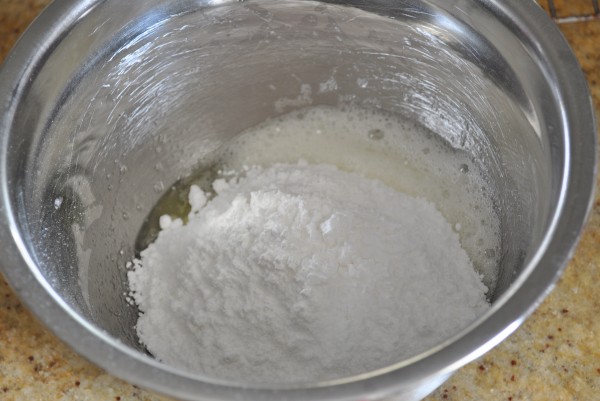
Tip in one cup of icing sugar and stir it through. Then add a little icing sugar at a time until it is nice and thick. I ended up adding about an extra half a cup of icing sugar.
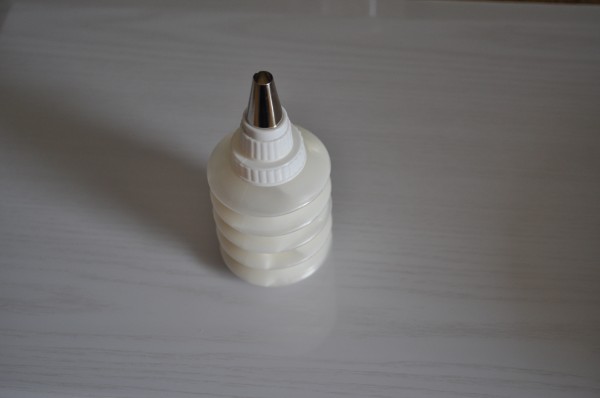
Spoon the icing into a piping bag or a little squeezy thing like I did. I find these so much easier to use than a piping bag because I only need one hand to squeeze it.
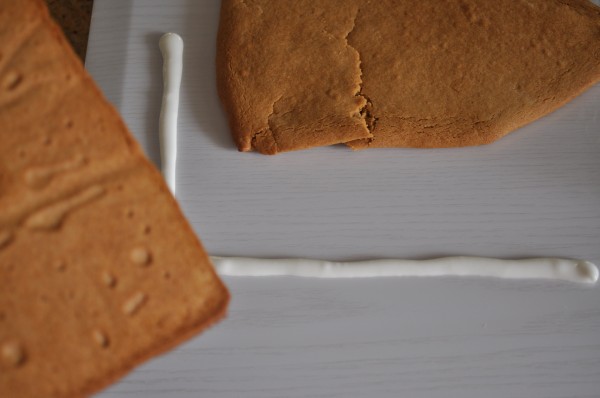
Start with the back piece and one of the side walls. Pipe a line of icing the length of each piece onto the board. Make sure your board is going to be big enough before you start building the house!
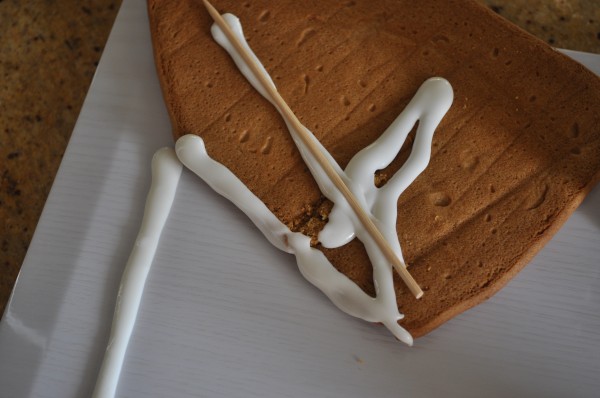
I also added a few reinforcements to the pieces just to be safe. If you want to, pipe a line of icing onto the inside of the gingerbread and press a skewer into it.
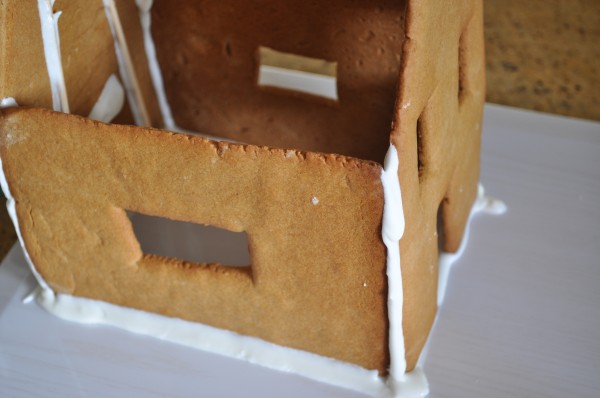
Pipe a line of icing where the back wall and a side wall will meet and stand them up pressing them together. Hold them together or place a glass in the middle to hold them up. Repeat the process with the front and side walls. Add more icing to the corners to hold it all in place. This stuff sets like cement so add as much as you can. I made two batches for the whole house.
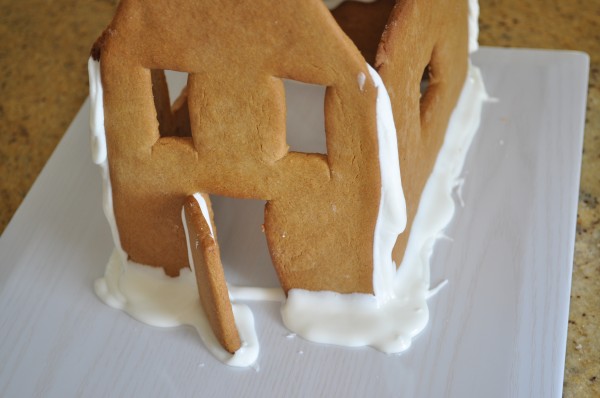
Attach the door by piping a line of icing down the side of it and on the tray where you want the door to sit. Hold it in place until it sets. Leave the base to dry for at least two hours. If you have icing left over, pipe it around the bottom to make snow.
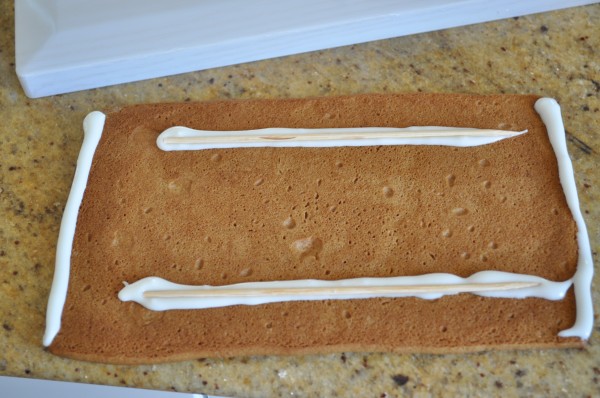
Make up another batch of icing to attach the roof. I used two pieces of reinforcement for each side of roofing.
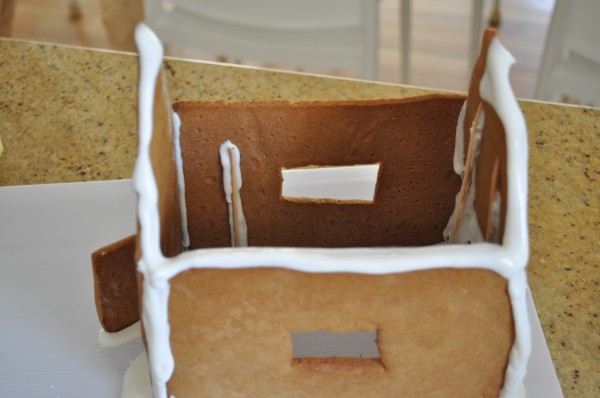
Pipe icing all around the top of the house ready for the roof to be attached.
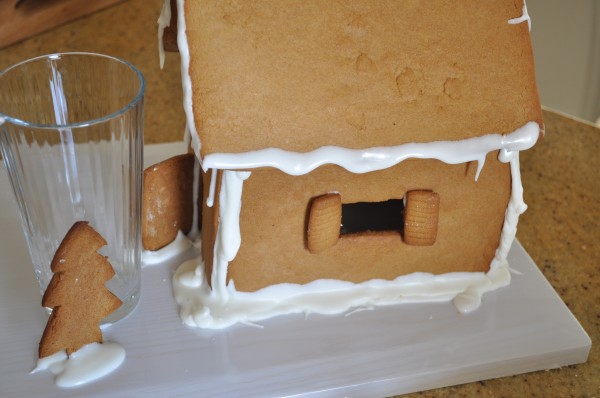
Place the roof on top and hold it in place until it will stay on its own. Repeat for the other side. Attach the shutters to the side of the windows and stick the tree out the front. Attach the chimney to the roof when you're confident that it's staying in place. Leave it to dry for at least another 2 hours before you decorate.
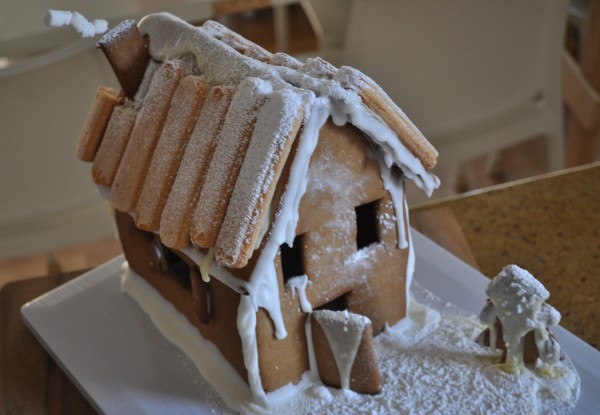
I used sponge finger biscuits to decorate the roof. I attached them with melted white chocolate but it would have been better to use another batch of icing. I had intentions of decorating it more but I thought simple was nice. Plus I was terrified of it collapsing under the weight of too many lollies.
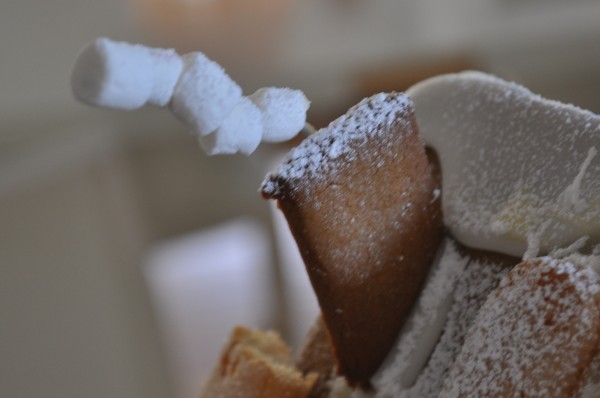
To make the chimney smoke, I threaded mini marshmallows onto a paperclip and stuck it on the back of the chimney.
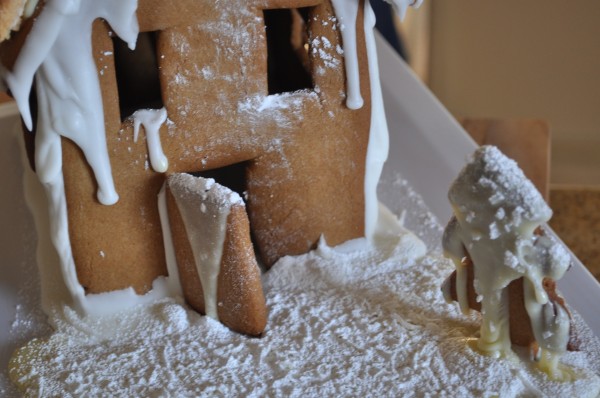
Sprinkle shredded coconut over the top of everything and then dust with icing sugar.
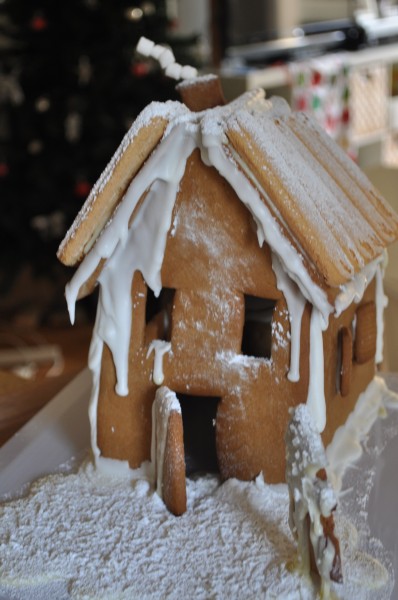
Just before we left I thought it would be a nice touch to fill the house with goodies so I hid some chocolates (yes I shared my Lindt balls) and candy canes inside for a sweet surprise. So what about you, have you tackled any Christmas challenges this year?
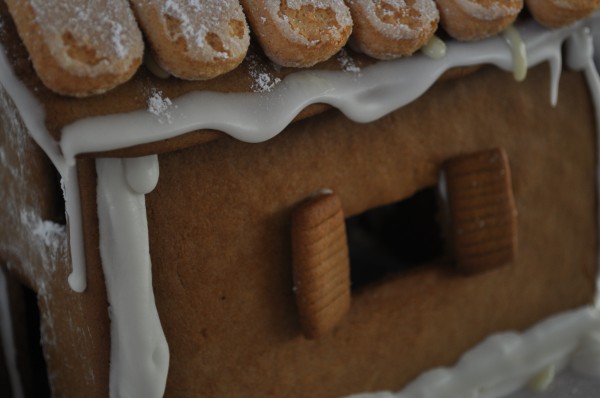
I'm including my gingerbread house in the Sweet Adventure's Blog Hop. Don't forget to check out all the other delicious treats.



steve@constructionmaterials says
That looks tasty. I am going to try this for a new years eve party............... for grownups.
Claire says
Good luck Steve!
Inspired2cook says
Cute gingerbread house! I love the lady fingers for the roof! Very clever!
Claire says
Thank you!
Personal trainer - Anna says
Well done !!!! I would have eaten the roof before its application .... U should buy a little Xmas Santa and put him in there
Claire says
Will have to remember that for next time. The house has already been devoured!
Nic@diningwithastud says
Love it!! Such a fab job Claire :) thanks for joining the hop!!
Claire says
Thanks Nic!
Celia says
Oh my...that's gorgeous, Claire! Well done! I'm sure it will make a wonderful Christmas centrepiece!
All the best to you and your loved ones for a fabulous Christmas! xxx
Claire says
Thank you Celia. Merry Christmas to you too! x
Jennifer Wickes says
i LOVE it! You did an excellent job. thanks for sharing.
Claire says
Thanks Jennifer. I was a little bit proud.
Jessica says
Look at you - so crafty! I'm totally impressed, and the result is so Christmassy and beautiful!
Claire says
I was a little bit impressed with myself. So much fun to do!
JJ @ 84thand3rd says
How cute is your house - I love that you left it simple! I think my fav part is the marshmallow 'smoke' :) I haven't made a gingerbread house in years but remember that if you roll the dough straight on baking paper and cut away the excess you don't even have to move it, just pull the paper onto the tray to bake!
Thanks for joining the hop and Happy Holidays!
Claire says
That's a great tip. I'd definitely suggest that one to anyone who wants to attempt it. It was tricky to move the sheets of dough to the baking trays.
Tenille @ My Family Table says
I think simple is nice too. I'm not trying anything too adventurous for Christmas this year, though I am going to attempt some croissant type rolls for Christmas morning. Hope they turn out!
Claire says
Croissants, wow! That is super adventurous in my book!
[email protected] says
Great idea , lovely house it looks a bit evil but absolutely delicious......
Claire says
Haha yes well it has to have a touch of 'come inside and I'll feed you and eat you!'
Lizzy (Good Things) says
Very clever and artistic. Love the snow... and it's delicious too!
Claire says
It's super tasty snow!
Jenny @ Ichigo Shortcake says
I love your take on the gingerbread house, it's unique and love the idea of using sponge finger biscuits for the roof!
Claire says
Thanks Jenny. I have to say it was a last minute decision. I had them leftover from making a tiramisu cake
Lorraine @ Not Quite Nigella says
Gorgeous work Claire! I love how each gingerbread house has its own personality, much like houses. And I love how royal icing is like edible glue! :D
Claire says
It's the tastiest glue ever! It's very true isn't it. Will jokes that I'm plain Jane cause I like simple but I think it's often the way to go.
Iron Chef Shellie says
I love the smoke coming out of the chimney! good idea about the coconut, might do that to mine :P
Claire says
Thanks Shellie. It was a little stroke of genius to make the smoking chimney.
Jennifer (Delicieux) says
I love your gingerbread house!!! Very Hansel and Gretel. I love the idea of the sponge fingers for the roof!! And the way the icing has oozed over the house looks exactly like snow. Fantastic job!!!
I'm so glad you could join us in the blog hop. Merry Christmas!
Claire says
Thanks Jennifer! Merry Christmas to you too and thanks for organising the blog hop!