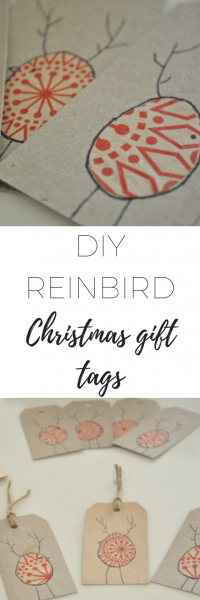
DIY Reinbird Christmas gift tags - lovely, easy to make tags for you Christmas gifts to friends and family.
DIY Reinbird Christmas gift tags
The festive season is well upon us (oh how we're looking forward to the festive season this year!).
I am one of those people who need to be organised for Christmas or I get a little bit stressed although I'm learning that 3 kids + being super organised and well-prepared and running a business and a household is a bit of an oxymoron.
One of my favourite things to prepare though, is how I will wrap the presents each year.
I always have a theme and I love making as much of it myself as I can.
It's also a little challenge for me to try and wrap the presents without having to spend money on things that will be thrown in the bin.
I pinned these cute little cards on Pinterest a little while back and couldn't wait to make my own version for Christmas a few years ago.
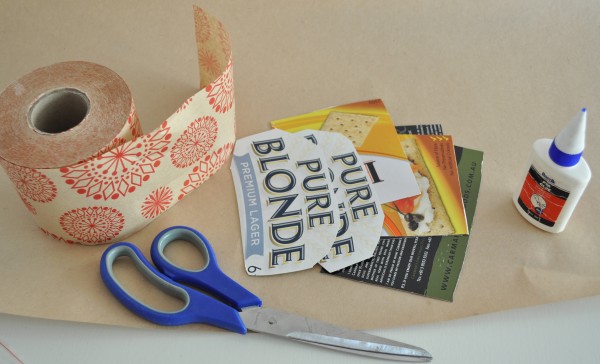
In the interest of not spending anything on the tags, everything I used I found around the house.
Yes I'm one of those people who keep food packaging to use for crafts.
I buy a big industrial-sized roll of brown paper for all my gift wrapping (easy to adjust to any occasion with ribbons and decorations) so I used that to cover the ugly side of the cardboard.
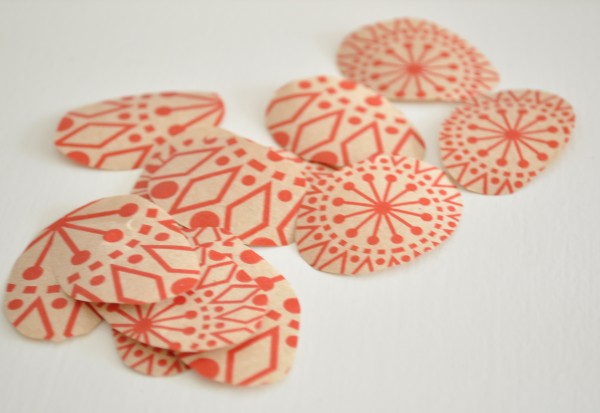
You can use anything you like for the bodies of the reindeer/birds.
To make reinbird Christmas gift tags You will need:
- scissors
- craft glue
- coloured paper or fabric for the bodies
- cardboard for the cards and paper to cover the ugly side if you're using recycled card
- a thin-tipped black marker
- a hole punch
- ribbon or twine to attach the card
- a pencil
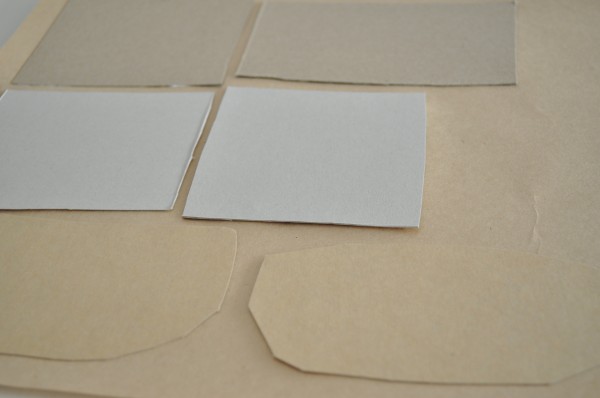
Step One
If you're using recycled card like I did, cover the ugly side in glue and lay them on a sheet of brown paper (or any colour you like).
Press them down firmly then flip it over and smooth out any bumps. Leave it to dry.
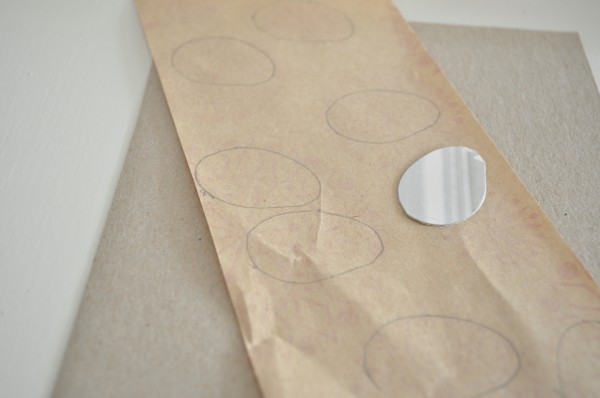
Step Two
Draw a rough egg shape onto a piece of card and cut it out to make your stencil.
Trace out the shapes on whatever you're using for the body (on the side that you will stick to the card) and cut them out.
Step Three
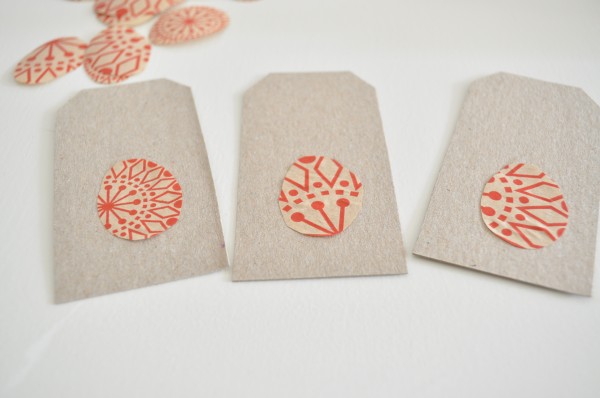
I missed taking a photo of this step - once the card is dry, cut out rectangular shapes. I used an old gift tag as a guide for the shape but you can make them any size you like.
Step Four
Stick the bodies on the cards about ⅔ of the way down.

Step Five
Use the fine black marker to trace around the outside of the body then add legs, antlers and a beak.
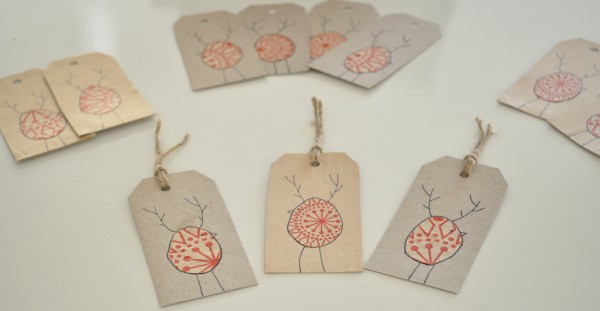
Step Six
Punch a hole in the top of each card, double over a piece of ribbon and thread it through the hole then stick the two ends of the ribbon through the loop and pull it.
Step Seven
Attach your gift tags to a jar of homemade tomato sauce and you'll be the most favoured person at you Christmas party.
What about you, do you theme your wrapping or does anything go?
Do you like to make your own cards?
This post was written for the cash giveaway by Successful Blogging and RocketFuel who connect brands with bloggers.
Connect with Claire K Creations!
Be sure to follow me on my social media, so you never miss a post!
Facebook | Pinterest | instagram
Be sure to follow me on Instagram and tag @clairekcreations so I can see all the wonderful Claire K Creations recipes and creations YOU make!


Julie Manley says
Hi Claire,
The christmas gift cards are great, but where did you get the role of red/white paper you used for the bodies. Have looked everywhere with no luck.
Julie
Claire says
Thanks Julie! They're called Belli Bands and they are from The Wrapping Paper co http://www.wrapco.com.au/shop-online/index.php?option=com_virtuemart&page=shop.browse&category_id=173&Itemid=93
Lorraine @ Not Quite Nigella says
Look out Martha Claire is here! They look so cute! :D
Claire says
That's right! hehe
Nic@diningwithastud says
Oh I adore Christmas. The tree is up and the presents are almost bought. Now fo the godies :) I love these! They're so cute!! I love doing a DIY Christmas. Much more personal
Claire says
The tree is up?! Wow you do love Christmas. I had to make a strict rule with myself not to put it up until December 1. I make a very big deal of it though and started a tradition of baking a ham so the whole house smells lovely while we put the tree up. I'm impressed that you've done all your presents!
Yes I love DIY too. Really I love DIY everything!
Annabel Candy, Successful Blogging says
Hi Claire,
They are totally cute. And best of all I think my kids could make them without my help;) Yay!
So excited you've entered my giveaway too. Thanks for joining the fun and best of luck!
Claire says
Thanks Annabel. I'm excited too. Fingers crossed!
The Café Sucré Farine says
These are just too cute - I'm already thinking of my own version. I love them! Thanks for the inspiration!
ps I always look forward to see what you are sharing! Your blog is the best!
Claire says
Oh that's so lovely thank you! I'd love to see what you come up with.
celia says
Claire, these are seriously cute! And you've just reminded me to get started on my own Christmas packaging, thank you for the prompt! :)
Claire says
Thanks Celia! No problem.
Jess C says
oh I really like this idea! I'm a sucker for good gift wrapping too but I also HATE spending money on expensive paper and cards when I know they'll end up in the bin! Now I just have to actually get around to doing this... :)
Claire says
It's so hard to avoid it but I think it's more satisfying making it yourself too.