
As much as we all hate to admit it (well I don't hate it I love Christmas), the party season is upon us. There are just 22 sleeps until it's time to put up the Christmas tree and start busting out my new Michael Buble Christmas CD. To me, the festive season also means lots of eating so I've started getting organised. Party food that you can make in advance and freeze until you need it wins big points from me. I randomly found this recipe in my oven handbook when I was having a big de-clutter the other day. They're simple to make and full of flavour.
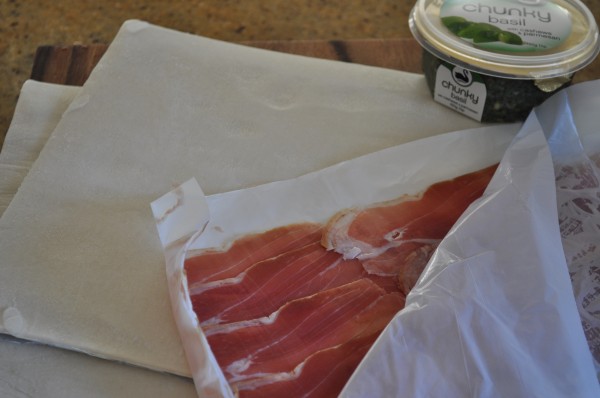
There are only 4 ingredients in these easy peasy crescents. If you buy the prosciutto from the deli then you don't have to buy a whole packet. Since I've discovered how much I love eating it on its own, it's much safer for me to buy only the number of slices I need for a recipe. Try and get the best one you can afford - the saltier the better in my books. I always try and get the Jamon Serrano.
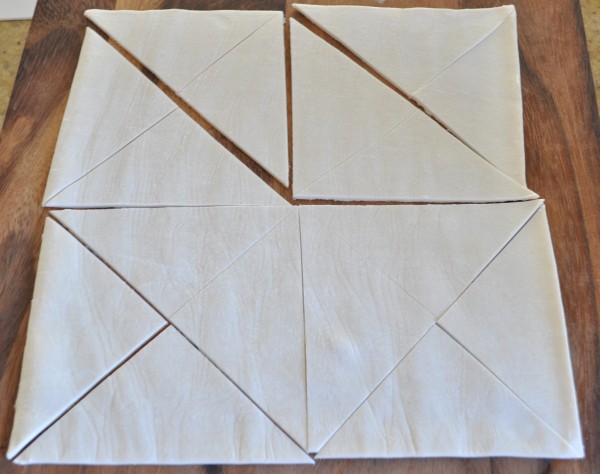
Lay the sheet of pastry out on the bench or on a chopping board and cut it into 4 even squares then cut each square into triangles.
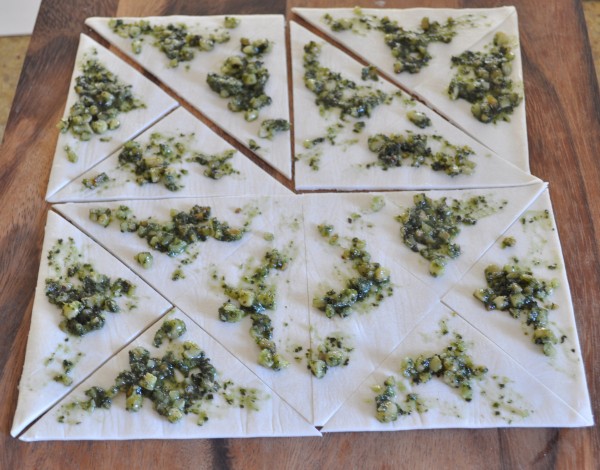
Put a little blob of pesto on each triangle and roughly spread it out. It would probably be better to use a smooth pesto rather than a chunky dip like I used but chunky basil pesto is my favourite so I wanted the leftovers.
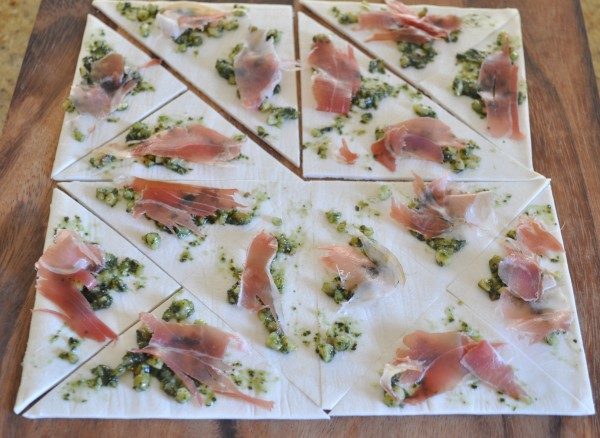
Place a little piece of prosciutto on top of each triangle. You don't have to be too particular about these. Because the end result is bite-sized, ingredient distribution isn't much of an issue.

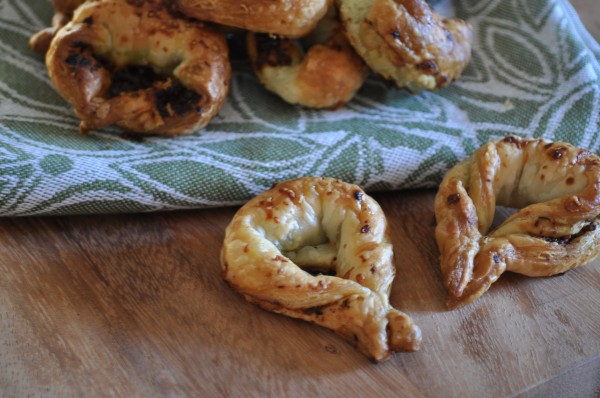
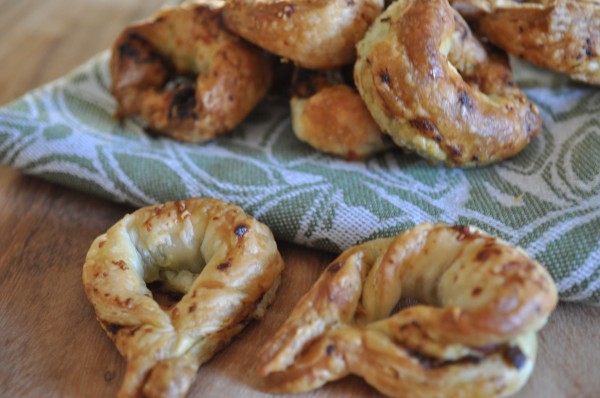
Starting at the long side of the triangle, roll them up and then pinch the two ends together to make a little crescent shape.
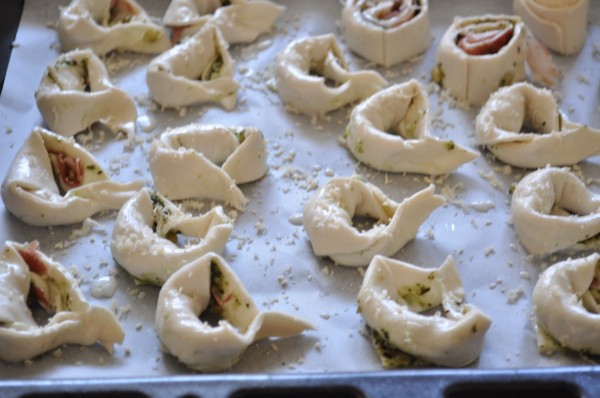
Brush each one with the egg (I just used milk) and then sprinkle them with a little grated parmesan cheese. Bake them at 160C fan-forced for 12-15 minutes or until they are golden.
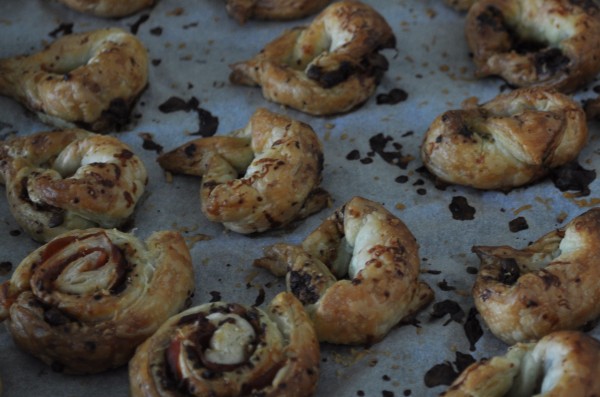
I happened to be having a wedding meeting with mum at the same time as I was making these so got a little distracted and forgot to set the oven timer. They still taste great but it would have been better to take them out of the oven a little earlier. The round ones you see were my other experiment. I made them in the same way I make my party pinwheels. They turned out just as well.
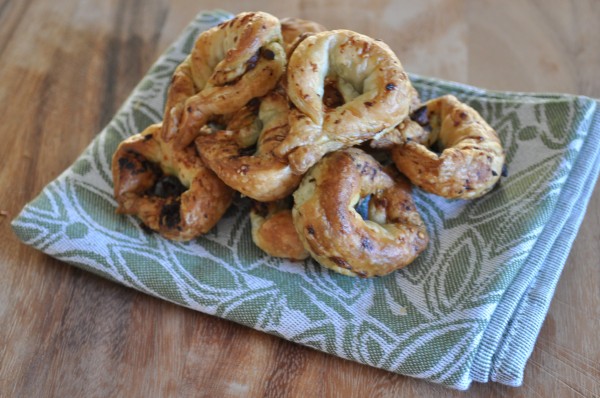
The crescents can be served warm from the oven or at room temperature or they can be frozen for up to 3 months so you always have some emergency party food ready for the festive season. Enjoy!
Recipe
Ingredients
- 1 sheet of puff pastry
- 16 little pieces of prosciutto about 3 big slices
- 4 tablespoon basil pesto sauce I used chunky basil dip
- 2 tablespoon grated parmesan cheese
- 1 egg yolk beaten (this is to glaze the pastry, I used a little milk instead so I didn't waste an egg)
Instructions
- Pre-heat the oven to 160C(320F) fan-forced and line an oven tray with baking paper
- Lay the pastry on the bench and cut it into 4 squares then cut each square into 4 triangles.
- Spread each triangle with pesto.
- Place a piece of prosciutto on top of each triangle.
- Starting from the long side, roll each one up and pinch the ends together to form a crescent.
- Lay them on the oven tray and brush with the egg or milk.
- Sprinkle the parmesan over the top.
- Bake the crescents for 12-15 minutes or until they are golden.
- They can be served hot, at room temperature or can be frozen for up to 3 months after they have been cooked.


martha says
Sorry to sound silly, i don't often cook... if i was to make these to freeze ahead of time, do i freeze them uncooked and cook from frozen (if so, how long?) or freeze them cook and serve from defrosted?
Claire says
Hi Martha. You can do either. I would probably cook them then freeze them. To re-heat, defrost them first then heat at about 180C (390F) for 10-15 minutes or until they are heated through. Just make sure you taste one first as they can get super hot on the outside and still be cold on the inside. ps not silly at all!
Nic@diningwithastud says
What a great canape or even side at Christmas. Def my favourite time of year!!
Claire says
It's my favourite time of year too!
The Café Sucré Farine says
Oh Claire, you have made something so beautiful and festive looking - I'm ready for a party right now, wish we lived closer! This to me is the perfect flavor combination!
Claire says
I think so too although I would like anything with prosciutto in it!
Lorraine @ Not Quite Nigella says
Oh my! Is it Christmas already? Thanks for the reminder Claire! It feels like it was just Halloween! :D
Claire says
Well yes it was just Halloween but that means Christmas is just around the corner. I love it so much but I try to keep the actual celebrations to December. I think it loses its 'specialness' starting earlier. That doesn't apply to Christmas planning though!