
Choosing a scent is one of the fun parts of making homemade candles. Whether you love something fresh, floral or woody, a little understanding of scent notes can help you put a blend together.
Don’t worry, it doesn’t need to be complicated!
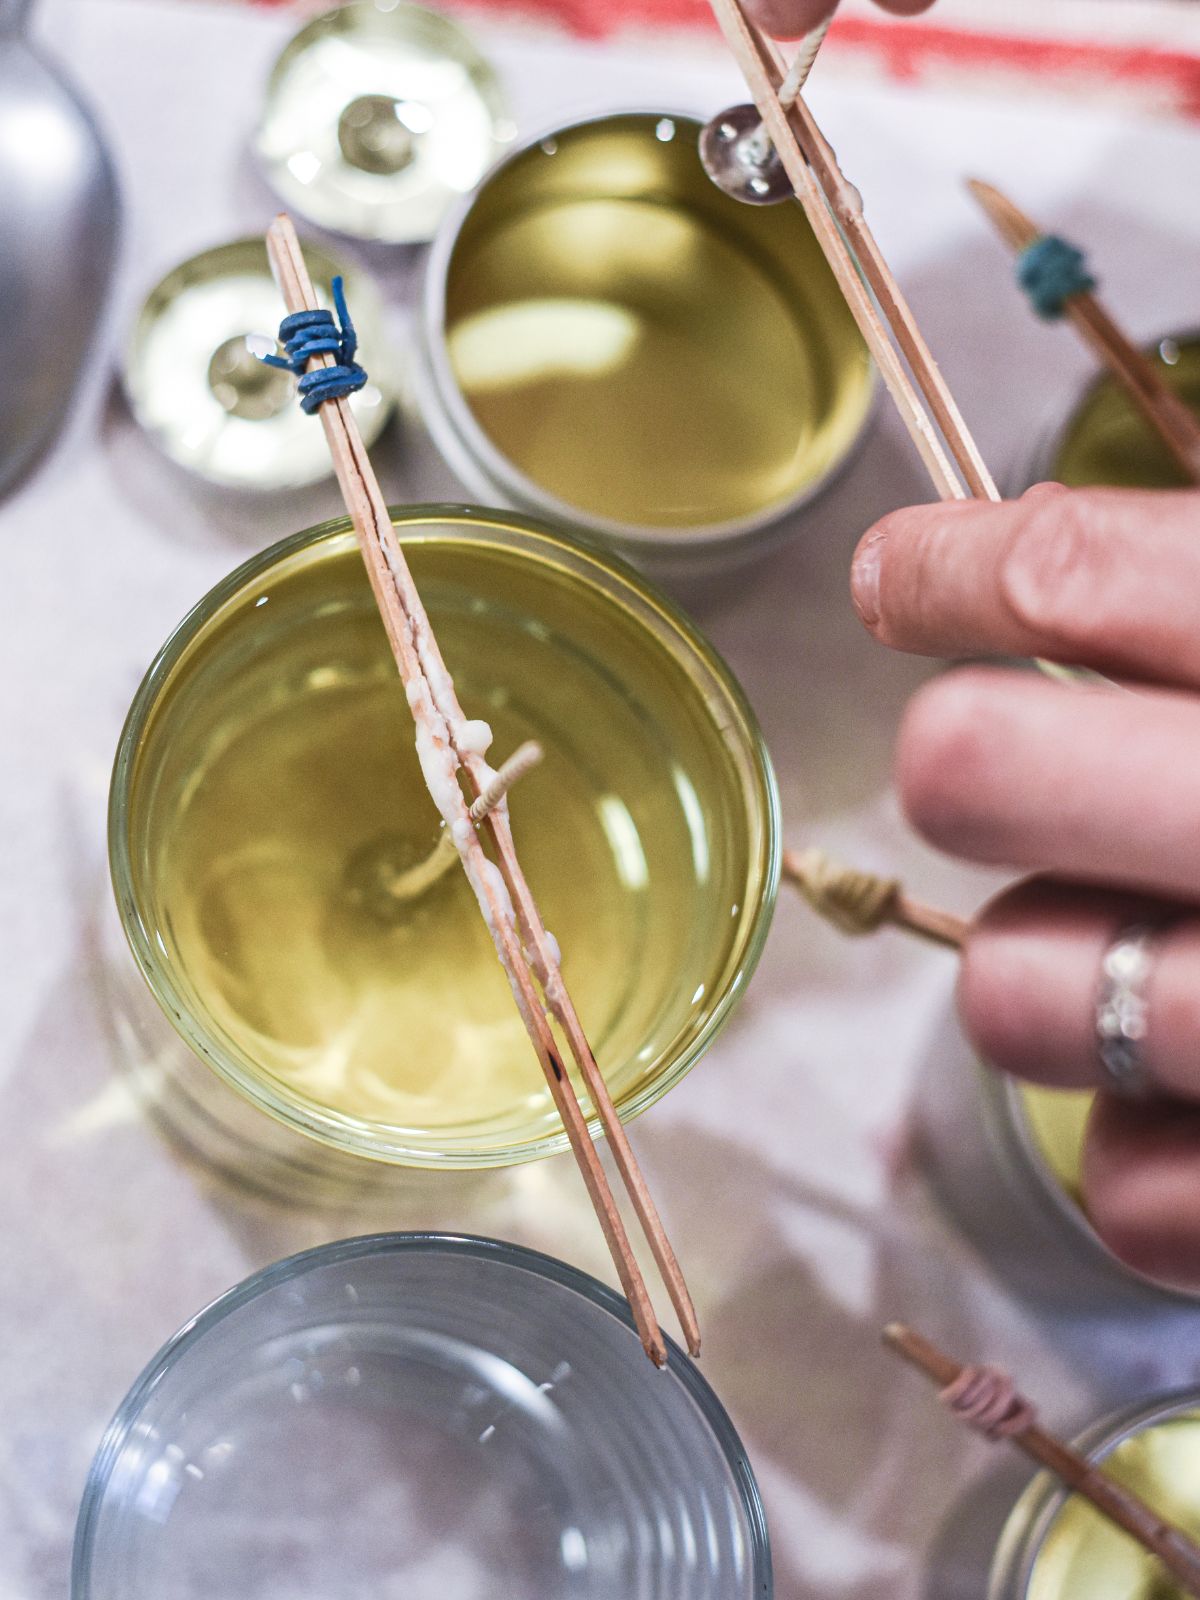
Before you start, check that your supplier recommends each oil for candle making. An essential oil that smells lovely in the bottle won’t necessarily smell or perform the same way when burned.
What you’ll need
- Essential oils specifically recommended by their supplier for candles
- A small, clean glass mixing container
- Fragrance-testing strips
- A notebook and pen
- Suitable digital scales for measuring the oils when making your candle
Understanding top, middle and base notes
You’ll often see scents described as top, middle or base notes. These describe how an aroma develops and lingers, and can be a useful starting point for blending.
You don’t have to include all three in every candle. A single scent or a simple two-oil blend can be lovely too.
The examples below describe scent notes, rather than guaranteeing that every version of an oil is suitable for candles. Always check the particular product you’re using.
Top notes
Top notes tend to be the lighter, fresher aromas you notice first. They generally evaporate more quickly than middle and base notes.
Common examples include:
- Lemon
- Bergamot
- Peppermint
Middle notes
Often called the heart of a blend, middle notes help give it character and bring the lighter and deeper aromas together.
Examples include:
- Geranium
- Rosemary
- Lavender, which can sit between a top and middle note
Base notes
Base notes tend to be deeper, longer-lasting aromas that give a blend warmth and depth.
Common examples include:
- Cedarwood
- Patchouli
- Sandalwood
These categories are guides rather than strict rules. Some oils sit across more than one category.
How to create your blend
Start by writing down a few scents you enjoy. Think about the overall feel you’d like: fresh and citrusy, soft and floral, or warm and woody.
Keep your first blend simple. Choose two or three candle-suitable oils rather than mixing lots at once.
Use fragrance-testing strips to explore how the scents work together, following your supplier’s handling directions. Avoid getting concentrated oils on your skin.
Smell your trial blend, then come back to it after a few minutes and again later. Notice whether one scent overwhelms the others or whether you still enjoy the combination.
Keep notes as you go. If you use drops for a tiny aroma trial, record them, but don’t use drop counts to calculate how much scent goes into your candle. For candle batches, weigh your oils and record the amount of each one.
How to add your scent to a homemade candle
Follow the instructions for your particular wax and oils, including the recommended amount of fragrance, mixing temperature, pouring temperature and curing time. Stay within both the wax’s fragrance capacity and the oils’ candle-use limits.
There isn’t one quantity or temperature that works for every combination, and adding more oil doesn’t necessarily give you a better candle.
Make a small test batch first. The scent of an unlit candle is called its cold throw; the scent released while it burns is its hot throw. You’ll need to assess both.
Allow the candle to cure as directed, then follow your supplier’s burn-testing guidance before making a larger batch or giving candles as gifts. A blend smelling lovely on a testing strip doesn’t tell you how the finished candle will burn.
Keep it simple
Start small, take notes and change one thing at a time. Finding a scent you love is much easier when you can recreate the combinations that worked!


Leave a Reply