
For some reason I've been afraid to make shortbread that requires kneading. I thought it would be a huge effort with too much cleaning up. Given my recent bread making adventures, kneading is no longer a problem so I decided to give shortbread a go. This recipe was super simple and with only 4 ingredients it's quite friendly on the wallet as too - good for my simple savings ways. Just for a change I forgot to write down where I got it from but it was a very recent edition of Recipes Plus or Super Food Ideas. I packaged this batch up to make a home-baked Christmas gift.

The first step is to line two baking trays with baking paper and draw a circle (about 18cm diameter) on each sheet then flip them over so the pen is facing the tray.

In the next step, you need to beat the butter and icing sugar until it's light and creamy. The recipe says to beat until it's as pale as possible.

This is as pale as mine got before my arm got sore from holding my mixer.

Gradually add the flours to the butter mixture until it's all combined.

Tip the dough out onto a floured surface and get kneading! The recipe says to knead until smooth. I interpreted this as an even consistency (or when you get sick of kneading - whichever comes first).

This is my smooth dough ball ready for shaping.

Cut the dough in half and using the circle as a guide, shape them into discs on the baking trays.

Smooth out the surface of the disc using a palette knife. I got all perfectionist on it but you don't need too. You can always use more icing sugar to cover any imperfections!

Crimp the edges of the shortbread with your fingers.

Using a fork, prick the surface. I assume this is to make it pretty rather than serve a purpose but if anyone knows a reason for this I'd love to know.

When you're done pricking it, use a sharp knife to score the surface into 8 wedges.

Now it's baking time. If you want to save it for later, wrap it in plastic wrap and freeze for up to 3 months. Defrost it completely before following the rest of the steps to bake. Bake the discs for 10 minutes in a fan-forced oven pre-heated to 160C/320F. Reduce the temperature to 130C/270F and bake for a further 40 minutes (or until they're golden).

Cool the shortbread for 10 minutes on the trays. Don't try and move them before the 10 minutes - they're very soft.

Now transfer them to a wire rack to cool completely.

Very carefully cut the discs into wedges and dust with icing sugar.

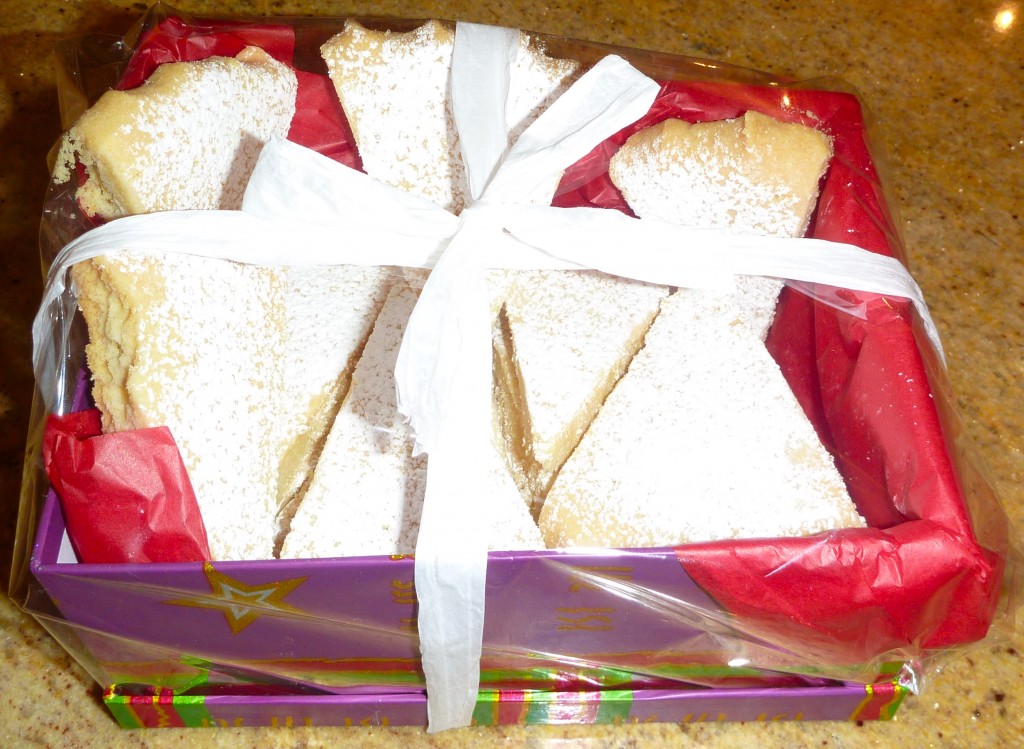
Store them in an air-tight container or package them up as a gift. Yum!
Recipe
Ingredients
- 250 g 9oz unsalted butter, at room temperature (I used salted butter - I'm sure many people would disagree but I don't think it makes a difference and unsalted butter is more expensive - not good for tightwad Claire)
- ¾ cup icing sugar plus extra to dust
- 1 ¾ cups plain flour
- ¾ cup cornflour
Instructions
- Preheat the oven to 160C (320F) fan-forced. Line two baking trays with baking paper and draw an 18cm diameter circle on one side. Flip the paper over so the markings are facing down. You should still be able to see them.
- Using an electric mixer, beat the butter and icing sugar until it's light and creamy. Gradually add the sifted flour and cornflour.
- Turn the dough out onto a floured surface and knead until smooth. I really just bashed it around a lot rather than knead it. It was a bit too sticky and soft and my kitchen was rather hot.
- Divide the dough in half and using the circle on the baking paper as a guide, form the dough into disc shapes on the prepared trays. Smooth the surface out with a palette knife.
- Using your fingers, crimp the edges then prick the surface with a fork.
- Using a sharp knife, score each disc into 8 wedges.
- Bake for 10 minutes then reduce the temperature to 130C/270F fan-forced and bake for another 40 minutes (or until golden).
- Cool them for 10 minutes on the trays then move to a wire rack to cool completely. When they're cool, cut into wedges and dust with icing sugar. !Package them up if they're for a gift or gobble them up.


Sokelengl says
Wow your shortbread look very professional! It must taste better than the Walker's cookie. I am going to try out the recipe with my new
Cookie mould
Thanks for sharing the intructions!
Lorraine @ Not Quite Nigella says
Ooh you did the fancy pattern too! Very nice! I found a recipe for brown sugar shortbread which I'm dying to try (and of course make it in that pattern :) )